Guide to Fieldstone Wall Construction
Fieldstone walls are a beautiful and functional addition to any landscape. They add a touch of rustic charm and can be used to create boundaries, retain soil, or add interest to a garden.
Whether you're looking to add a rustic touch to your garden or create a durable retaining wall, fieldstone is a versatile and timeless building material. However, constructing a fieldstone wall can be a challenging project for beginners. That's why we've put together this fieldstone wall construction guide to help you navigate the process with ease.
Step 1: Plan Your Design
The first step in planning your fieldstone wall is to determine its purpose. Are you looking to create a retaining wall to help prevent erosion on your property? Or are you simply looking to add a decorative element to your outdoor space? Consider the function of your wall and how it will fit into the overall design of your yard.
Next, consider the size and scale of your fieldstone wall. Take measurements of the area where you plan to construct the wall and sketch out a rough design plan. Consider how high you want the wall to be and how it will fit in with the surrounding landscape. Additionally, think about the shape of the wall – will it be straight or curved? Will it have corners or be more organic in shape?
Once you have a rough design plan in place, consider the materials you will need for construction. Fieldstone walls can be made from a variety of different types of stone, so consider what will work best for your design and budget. Additionally, think about any additional materials you may need, such as mortar or gravel for the base of the wall.
Step 2: Choose the right stones
When selecting stones for your fieldstone wall, there are a few key factors to consider. First and foremost, you want to choose stones that are the right size and shape for your project. Opt for stones that are roughly the same size and shape so that they fit together neatly and securely. Irregularly shaped stones can be more difficult to work with and may result in a less stable wall.
In addition to size and shape, consider the color and texture of the stones you choose. Fieldstone walls can be made from a wide variety of stones, ranging from warm earth tones to cool grays and blues. Think about the overall aesthetic you want to achieve and choose stones that complement the look of your space. You can also mix and match different types of stones to create a more dynamic and visually interesting wall.
Another important consideration when selecting stones for your fieldstone wall is durability. Fieldstone walls are exposed to the elements and need to be able to withstand rain, wind, and temperature fluctuations. Look for stones that are hard and dense, as these will be more resistant to weathering over time.
Finally, think about the overall scale of your project when choosing stones for your fieldstone wall. Larger stones are typically used for taller walls, while smaller stones are better suited for shorter walls or retaining walls. Consider the height and length of your wall and choose stones that are appropriate for the size of your project.
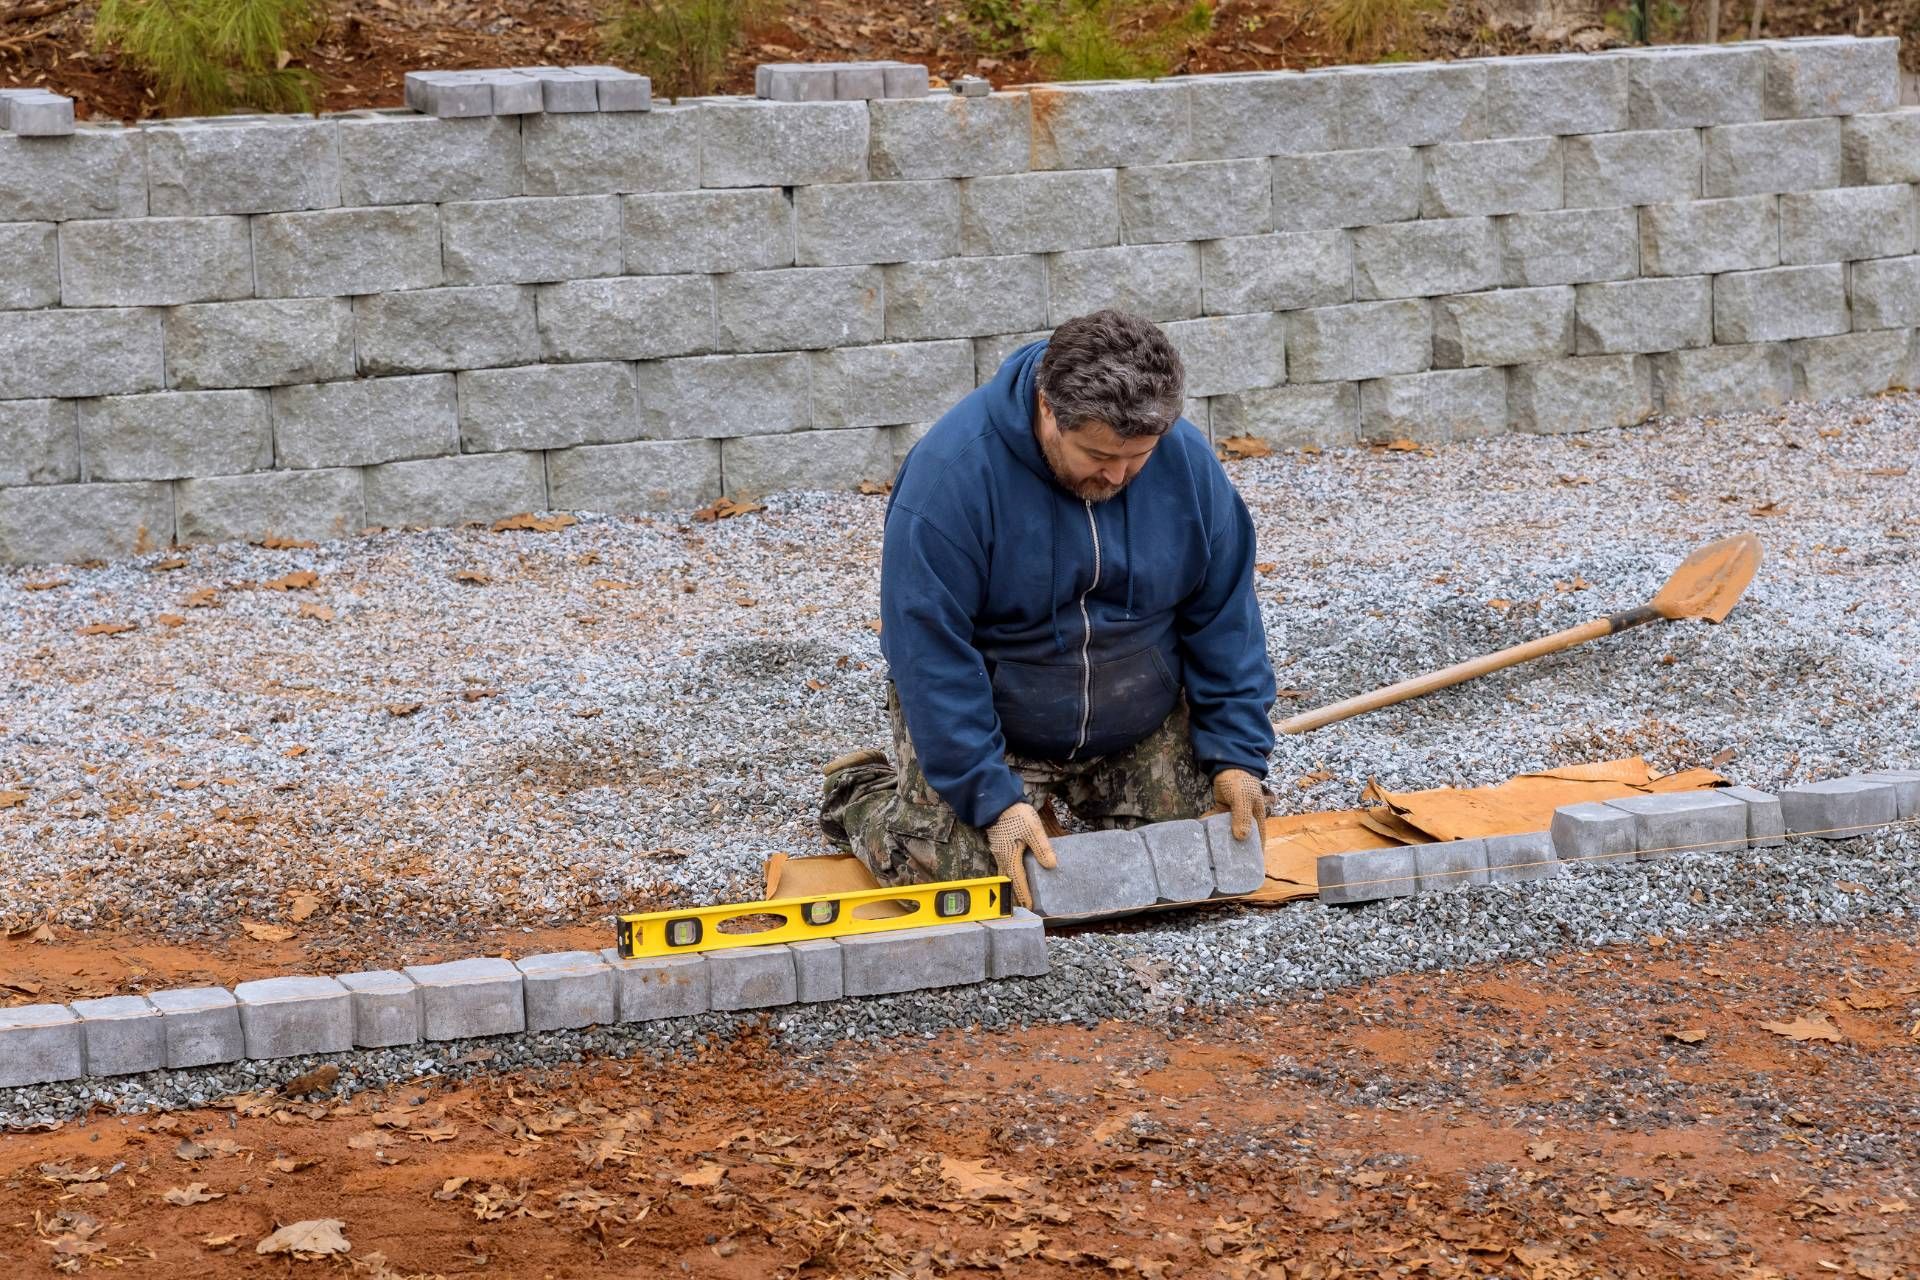
Step 3: Prepare the site
The first step in preparing the site for your fieldstone wall is to mark out the area where you want to build. Use stakes and string to outline the perimeter of the wall, ensuring that it is straight and level. This will help you visualize the size and shape of your wall and ensure that it fits seamlessly into your landscaping design.
Next, you need to clear the area of any vegetation, debris, and obstacles that could interfere with the construction of the wall. This includes removing any tree roots, rocks, or other obstacles that may be in the way. It's also a good idea to take the time to level the ground where the wall will be built, either by adding or removing soil as needed.
Once the site has been cleared and leveled, you can begin preparing the foundation for your fieldstone wall. Depending on the size and height of your wall, you may need to excavate a trench for the foundation. This trench should be at least 6 inches deep and wide enough to accommodate the stones you will be using for the base of the wall.
Before you start laying stones, it's a good idea to add a layer of crushed stone or gravel to the bottom of the trench. This will help to provide drainage and stability for the wall. You can also consider adding a layer of landscaping fabric to prevent weeds from growing up through the stones.
Step 4: Build the Wall
The first step in building a fieldstone wall is to gather your materials. You will need fieldstones, which can be sourced from a local quarry or collected from your own property. Make sure to choose stones that are flat and roughly the same size for a more uniform look. You will also need mortar, a trowel, a wheelbarrow, and a masonry brush.
Start by laying out the foundation for your wall, making sure to dig a trench that is at least 8 inches deep to provide a stable base. Mix your mortar according to the manufacturer's instructions and lay a bed of mortar in the trench. Place the first layer of stones on top of the mortar, making sure they are level and tightly packed together.
Continue building the wall by adding more layers of stones and mortar. As you go, be sure to periodically check that the wall is level and straight. Use the masonry brush to remove any excess mortar and give the wall a clean finish.
When you have reached your desired height, cap off the wall with flat stones to create a smooth and even top. Allow the mortar to dry for at least 24 hours before backfilling the trench and adding any finishing touches, such as plants or mulch.
Step 5: Finishing Touches
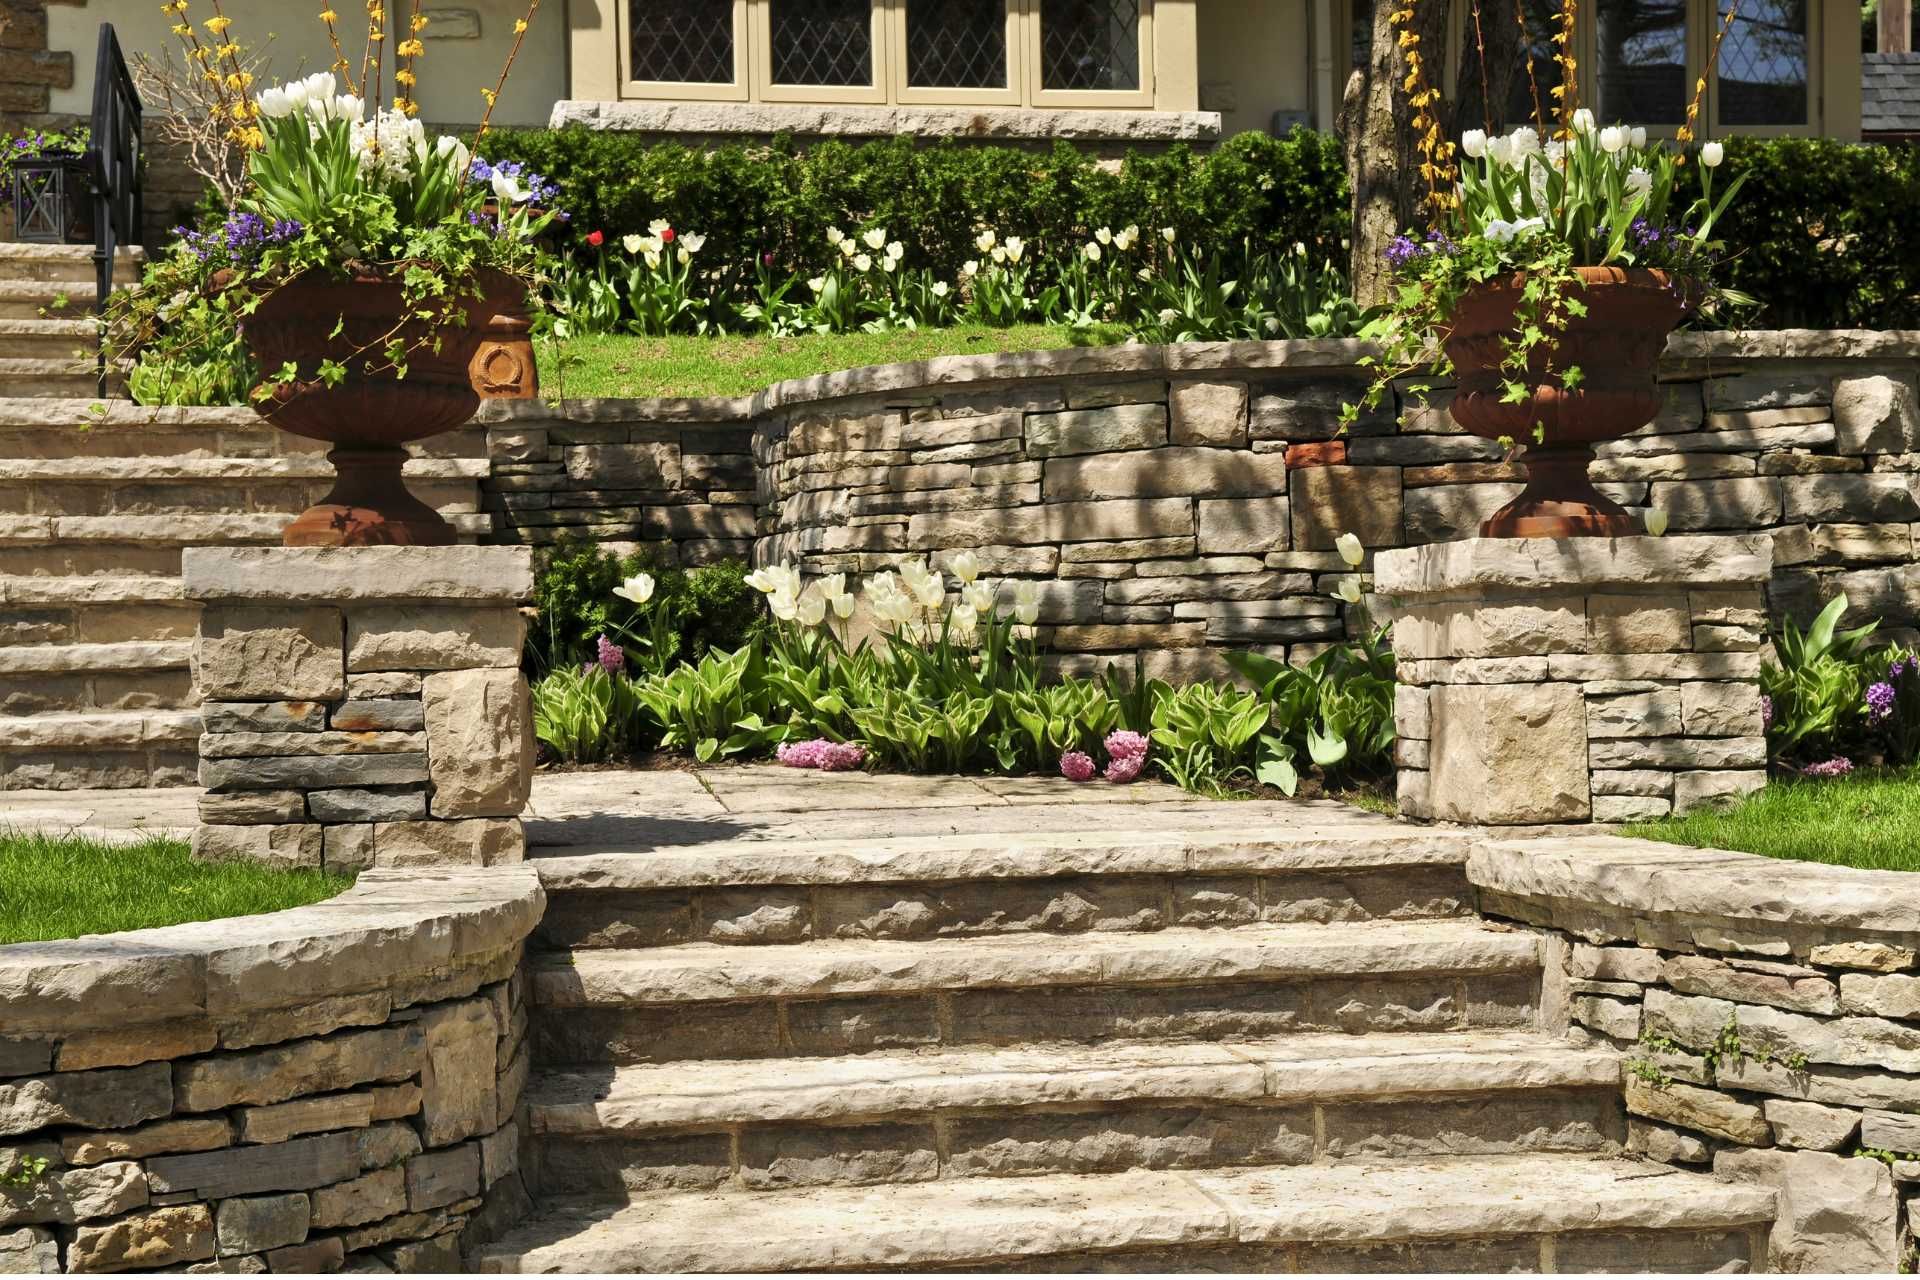
One important finishing touch to consider when building a fieldstone wall is adding a capstone. A capstone is a flat, horizontal stone that is placed on top of the wall to provide a finished edge and protect the top layer of stones from weathering and erosion. Capstones come in a variety of shapes and sizes, so it is important to choose one that complements the overall design of the wall and fits securely on top.
Another important finishing touch is pointing the joints between the stones. Pointing involves filling in the gaps between the stones with mortar or grout to create a seamless and cohesive look. This not only improves the appearance of the wall but also helps to strengthen the structure and prevent water infiltration, which can cause damage over time.
In addition to pointing the joints, it is also important to clean the stones thoroughly once the wall is complete. Fieldstone walls can accumulate dirt, moss, and other debris over time, which can detract from the natural beauty of the stones. A thorough cleaning with a brush and water can remove surface dirt and grime, restoring the original color and texture of the stones.
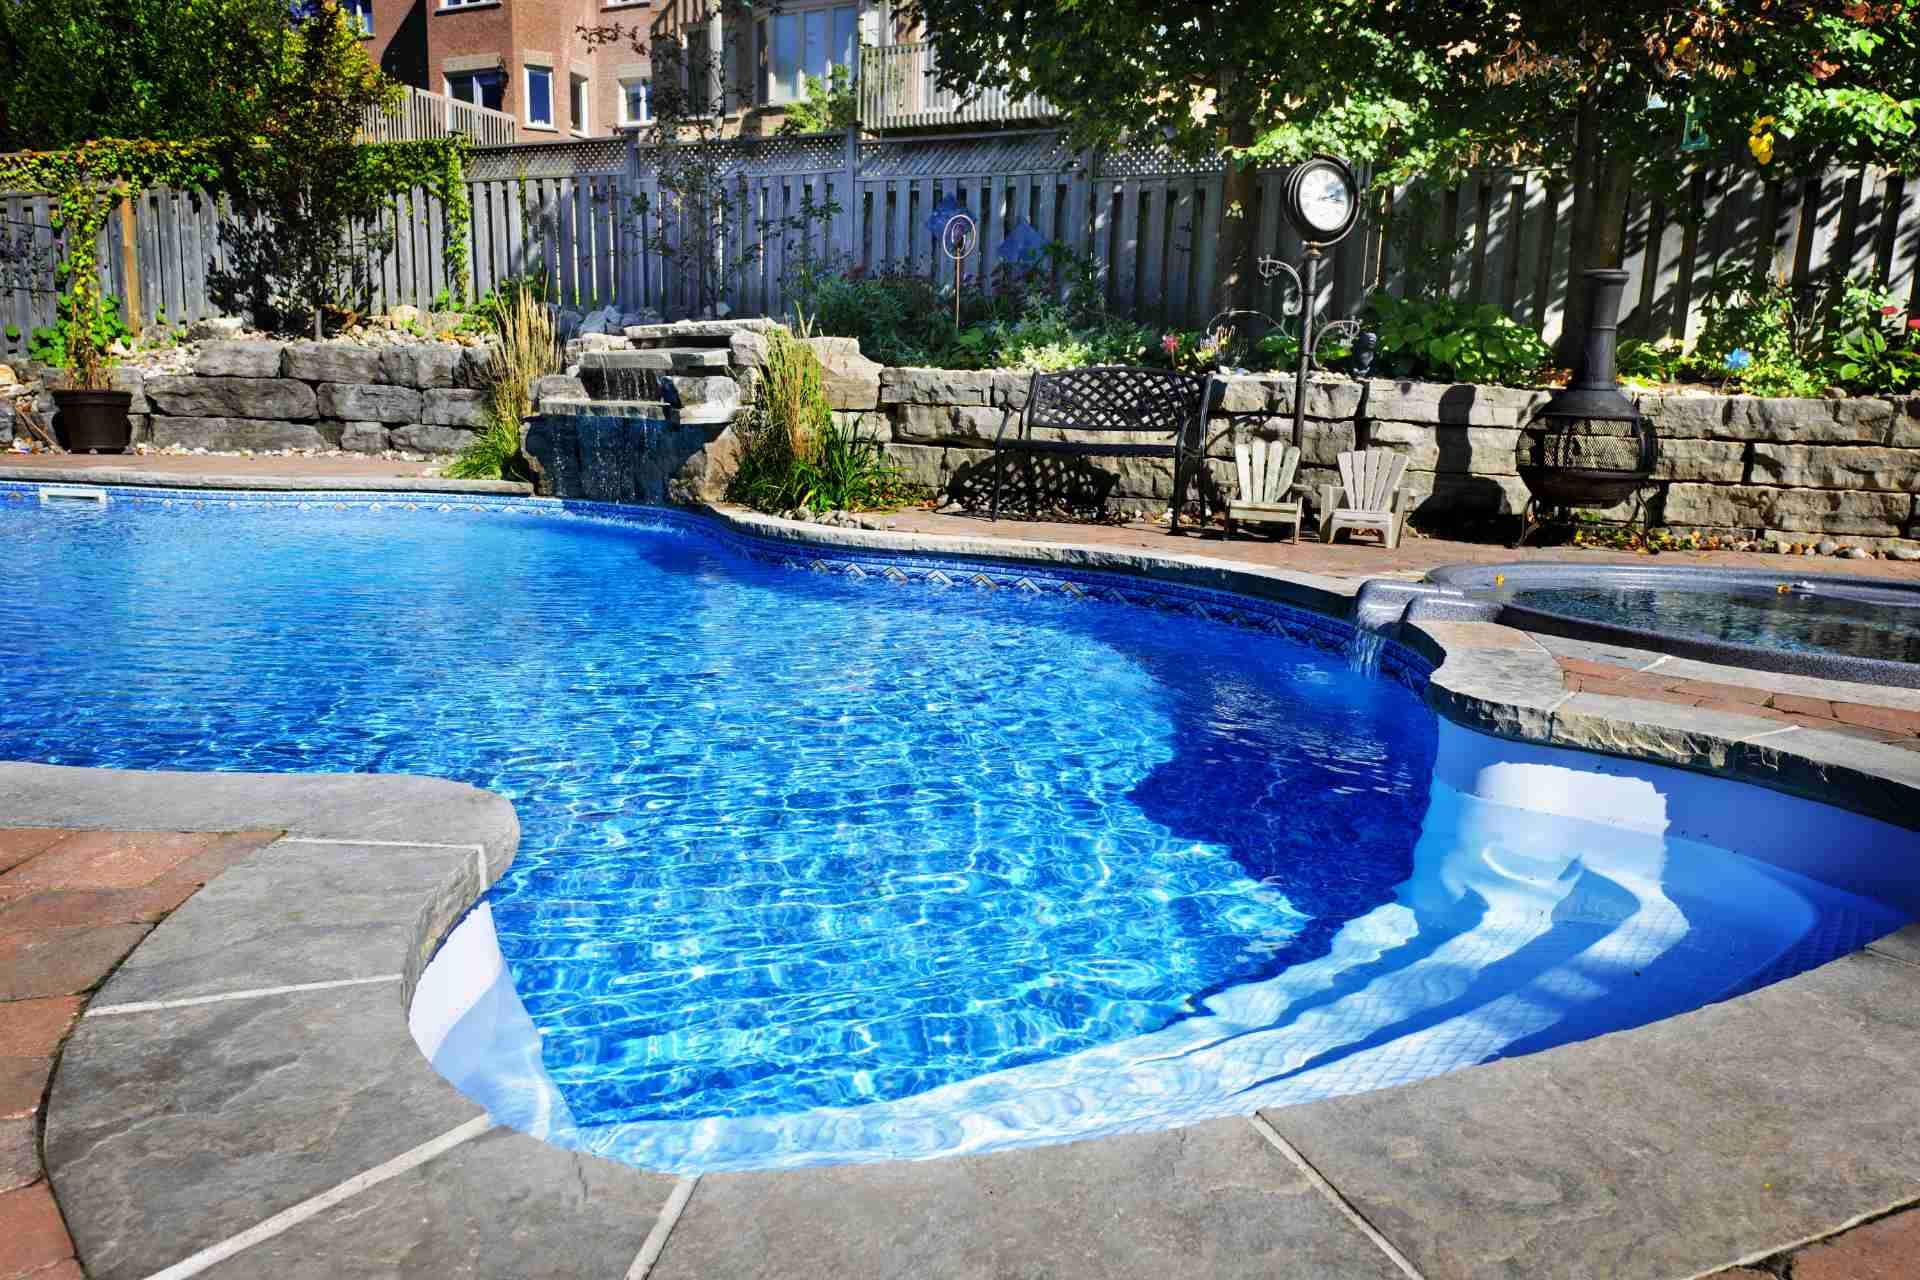
Finally, consider adding landscaping elements to enhance the overall look of the fieldstone wall. Planting flowers, shrubs, or vines near the base of the wall can soften its appearance and create a seamless transition between the wall and the surrounding landscape. Additionally, adding lighting fixtures along the wall can highlight its texture and create a warm and inviting atmosphere in the evenings.
Step 6: Maintain Your Wall
Fieldstone walls are a beautiful and timeless addition to any landscape. They provide a rustic and natural look that can enhance the overall aesthetic of your property. However, like any other outdoor structure, fieldstone walls require maintenance to ensure they stay in good condition and last for years to come.
Here are some tips to help you maintain your fieldstone wall and keep it looking its best:
- Inspect regularly: Make it a point to inspect your fieldstone wall on a regular basis. Look for any signs of damage, such as loose stones, cracks, or bulging sections. Addressing these issues early on can prevent further damage and costly repairs down the line.
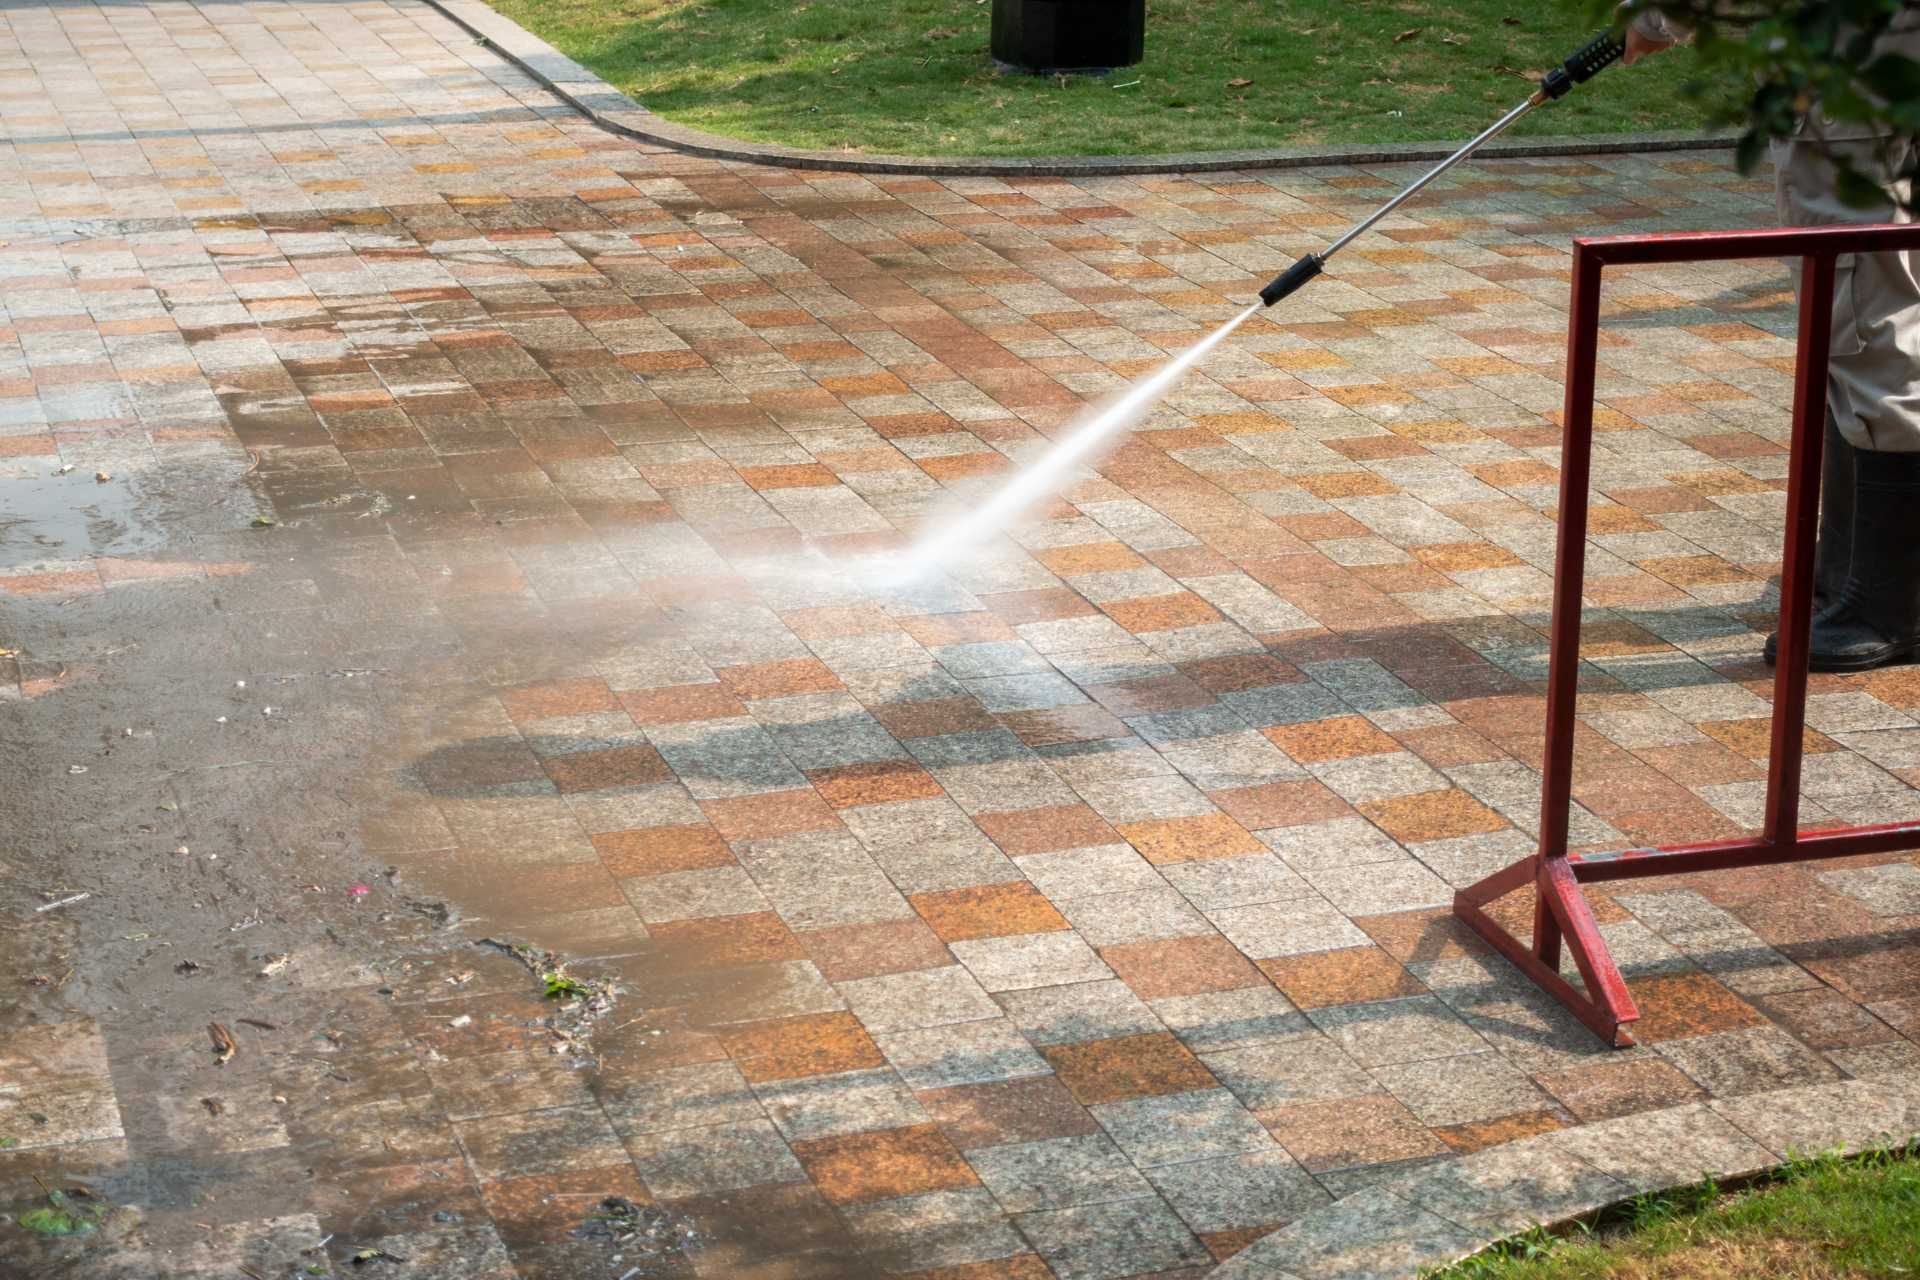
- Clean the wall: Over time, dirt, moss, and other debris can build up on your fieldstone wall, detracting from its beauty. Use a garden hose or pressure washer to wash away any dirt or grime. Be sure to use a gentle setting to avoid damaging the stones.
- Repair any damage: If you notice any loose or missing stones, it’s important to repair them as soon as possible. This will help prevent further damage and maintain the structural integrity of the wall. You can use mortar or a specialized stone adhesive to reattach the stones.
- Seal the wall: Sealing your fieldstone wall can help protect it from the elements and prolong its lifespan. There are various sealants available that can enhance the natural colors of the stones and provide added protection against moisture and weathering.
- Trim vegetation: Keep any plants, shrubs, or trees near your fieldstone wall trimmed to prevent roots from damaging the structure. Overgrown vegetation can also trap moisture against the wall, leading to mold and mildew growth.
- Control water drainage: Proper water drainage is essential for maintaining the integrity of your fieldstone wall. Make sure that water is directed away from the wall to prevent erosion and water damage.
Fieldstone Wall Styles to Consider
Fieldstone walls are versatile and can be used in a variety of ways, from creating boundaries and borders to adding interest and texture to your landscape.
There are several different styles of fieldstone walls to choose from, each offering its own unique look and feel. Here are some popular fieldstone wall styles to consider for your outdoor space:
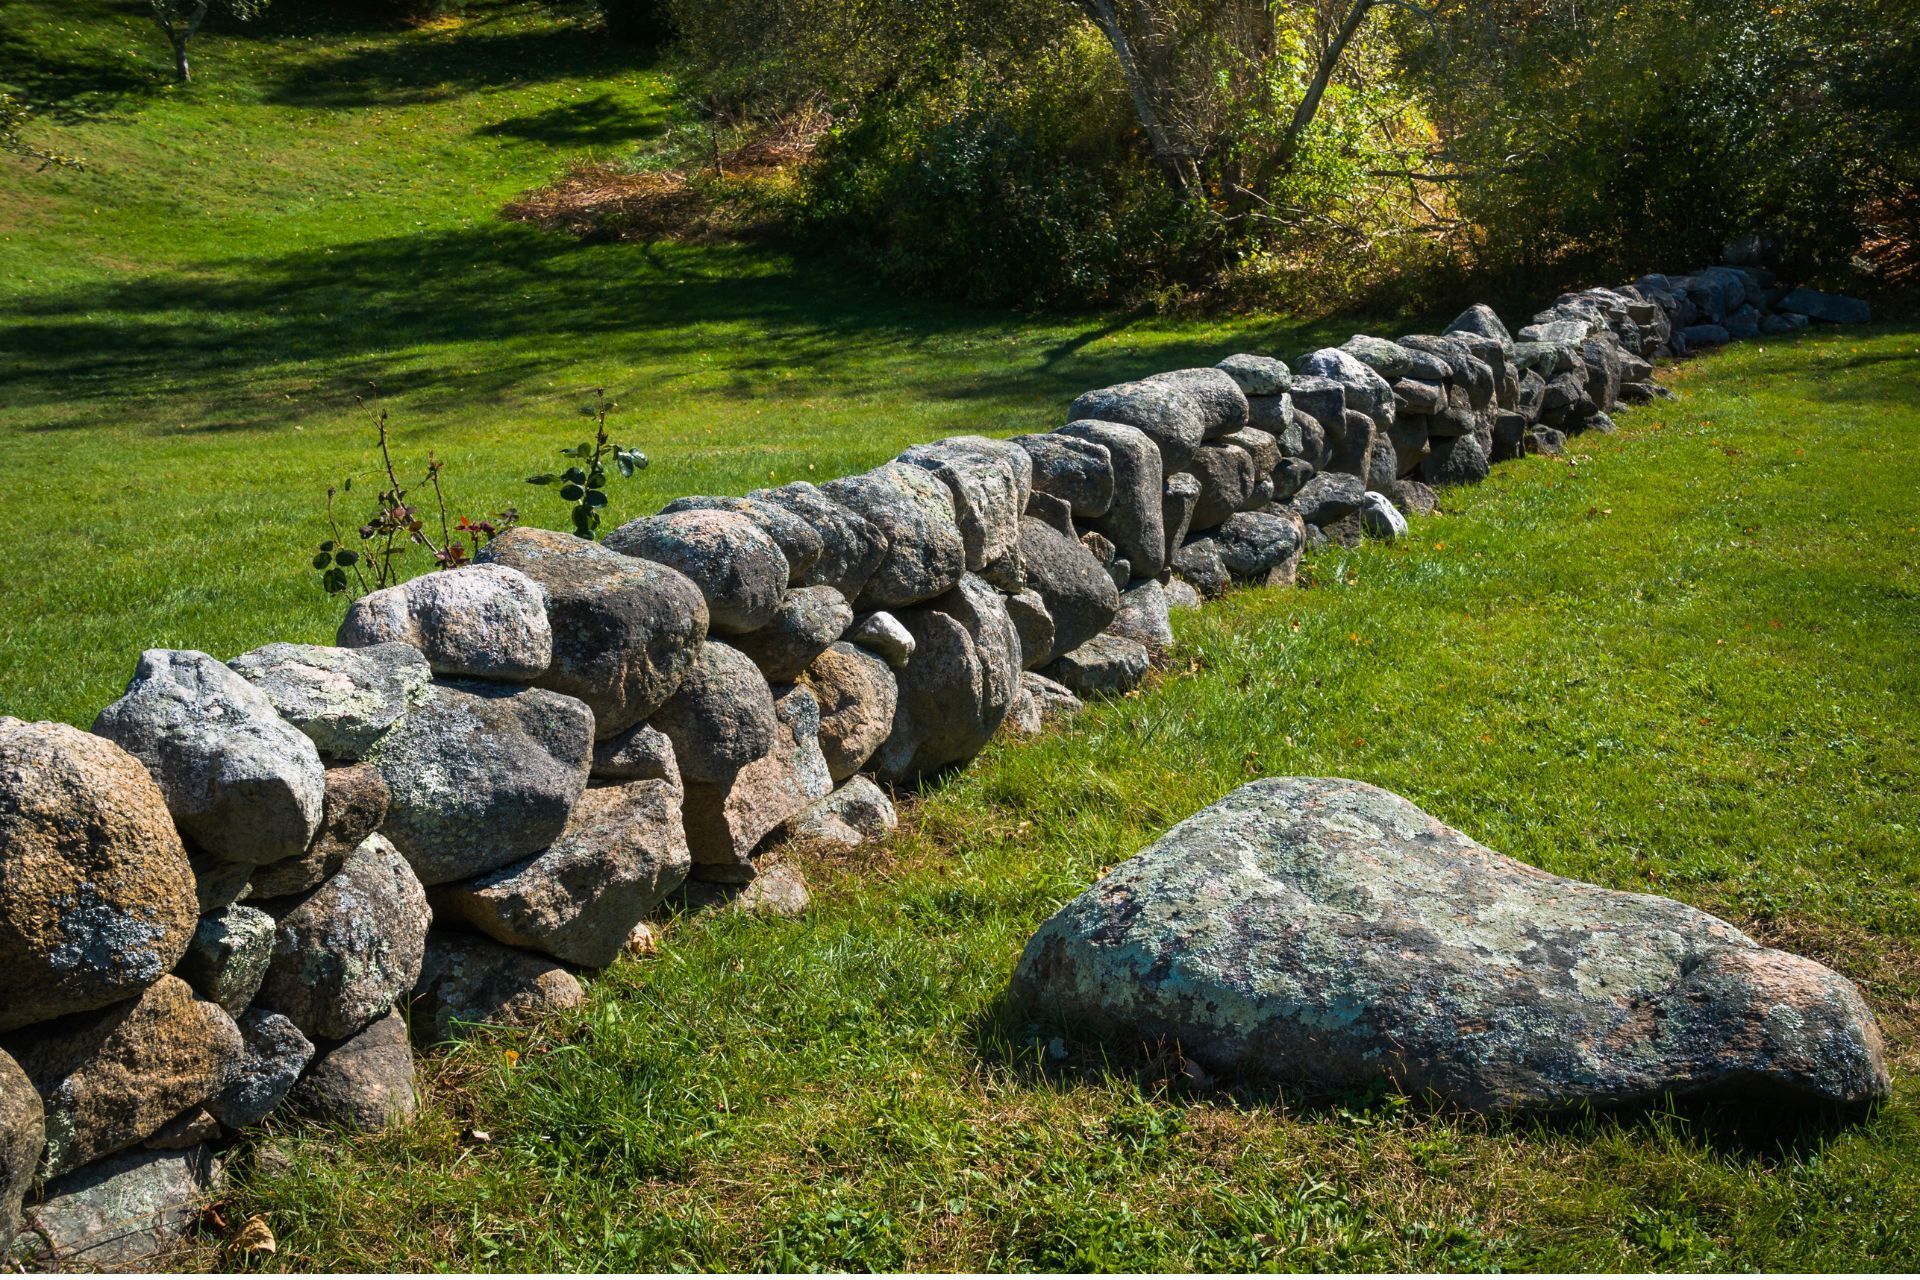
Dry-stack fieldstone walls
Dry-stack fieldstone walls are built without the use of mortar, relying instead on carefully selected stones that fit together like a puzzle. This style of fieldstone wall has a natural and organic appearance, with irregularly shaped stones creating a rustic and timeless look. Dry-stack fieldstone walls are a great option for creating a more informal and relaxed outdoor space.
Mortared fieldstone walls
Mortared fieldstone walls are constructed using a combination of fieldstones and mortar to create a more polished and refined look. Mortared fieldstone walls are sturdy and durable, making them a great option for retaining walls or other structural applications. This style of fieldstone wall can be customized with different mortar colors and finishes to match the aesthetic of your outdoor space.
Curved fieldstone walls
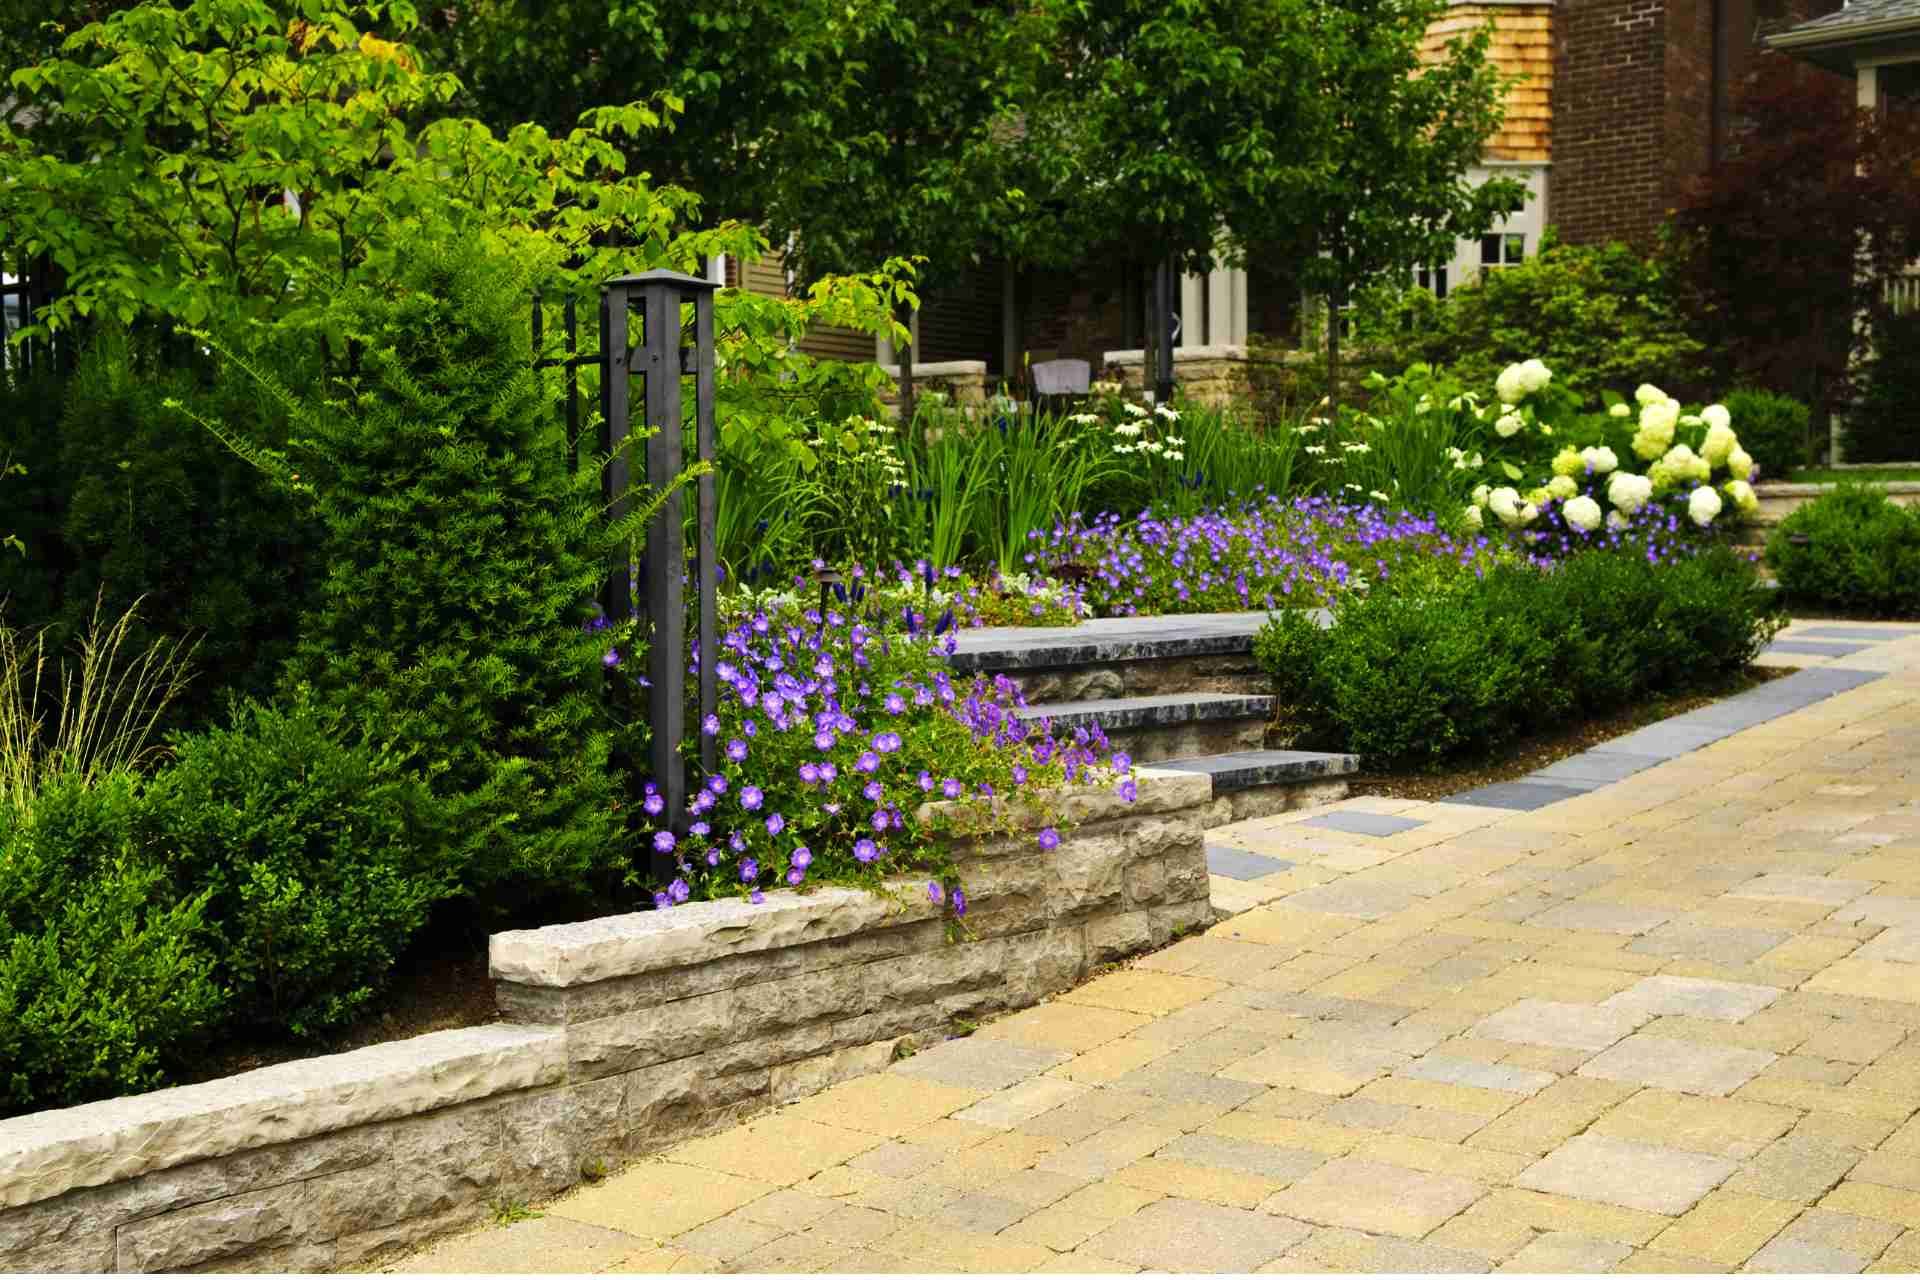
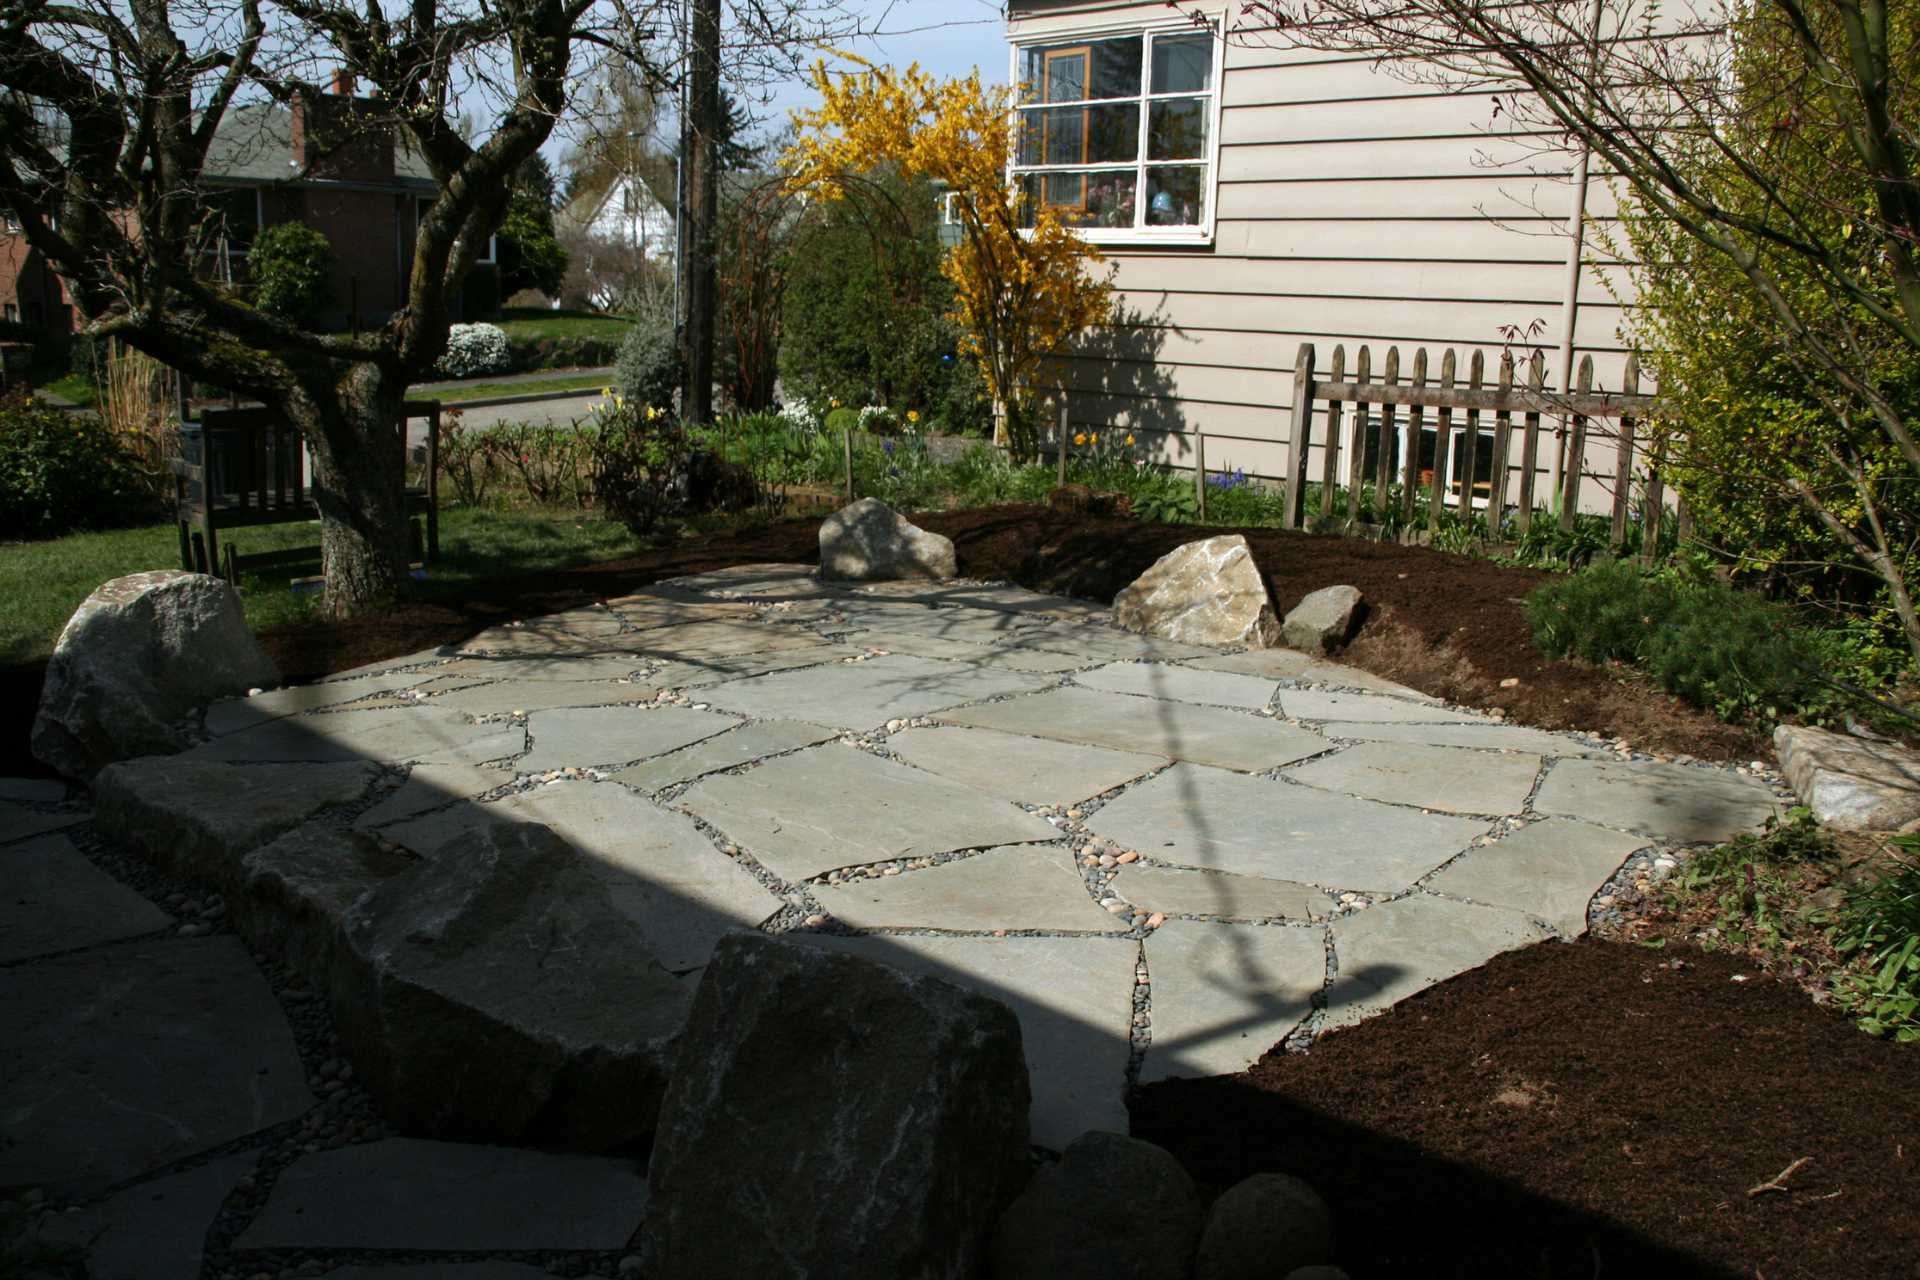
Curved fieldstone walls add a soft and organic element to your outdoor space, creating fluid lines and movement in your landscape. These walls are often used to create seating areas, garden beds, or pathways, adding a touch of whimsy and charm to your yard or garden. Curved fieldstone walls can be dry-stacked or mortared, depending on the desired look and functionality.
Round fieldstone walls
Round fieldstone walls feature stones that are shaped and arranged in a circular or oval pattern, creating a unique and eye-catching design element in your outdoor space. These walls are often used to create fire pits, seating areas, or focal points in the landscape. Round fieldstone walls can be dry-stacked or mortared, depending on the desired aesthetic and function.