How to Lay a Stone Patio
Creating a stone patio can add beauty and functionality to your outdoor space. Whether you want a cozy spot for relaxing with a book or a place to host a backyard barbecue, a stone patio can provide a versatile and durable surface that will last for years to come.
When it comes to laying a stone patio, think of it as putting together a giant outdoor puzzle piece by piece. Each stone carefully chosen and placed to create a beautiful and functional space.
But before you start envisioning your dream patio, there are crucial steps you need to take to ensure its success. From planning the layout to selecting the right materials, the journey of crafting your stone patio begins with solid groundwork.
Let's explore the essential first steps in turning your patio vision into reality.
Planning Your Stone Patio Project
When planning your stone patio project, consider the layout and dimensions of your outdoor space. Begin by deciding on the design and layout planning, keeping in mind the functionality and aesthetic you want to achieve. Choose the materials that align with your vision while also fitting within your budget. Material selection is crucial as it not only impacts the appearance but also the durability of your patio. Consider factors like weather resistance and maintenance requirements when making your choices.

Creating a detailed budget is essential to ensure you stay on track financially throughout the project. Factor in costs for materials, tools, labor if needed, and any additional features you wish to incorporate. By having a clear budget from the start, you can prevent overspending and make informed decisions when selecting materials and finalizing the design.
Proper planning in terms of material selection and budgeting will set a solid foundation for the success of your stone patio project.
Preparing the Patio Site
To set the stage for your stone patio project, begin by clearing the designated area of any debris and vegetation. Excavate the area to the desired depth, making sure to remove any rocks, roots, or other obstructions. This step is crucial to ensure a stable foundation for your patio.
Once the area is excavated, it's time to level the ground. Use a rake or a shovel to even out the surface, paying close attention to any slopes or uneven areas. This will help prevent any future issues with your patio's stability and appearance.
Leveling the ground is essential for the proper installation of your stone patio. Take your time to ensure that the surface is flat and even, as this will make laying the stones much easier. By excavating the area and leveling the ground beforehand, you're setting yourself up for success in creating a beautiful and durable stone patio.
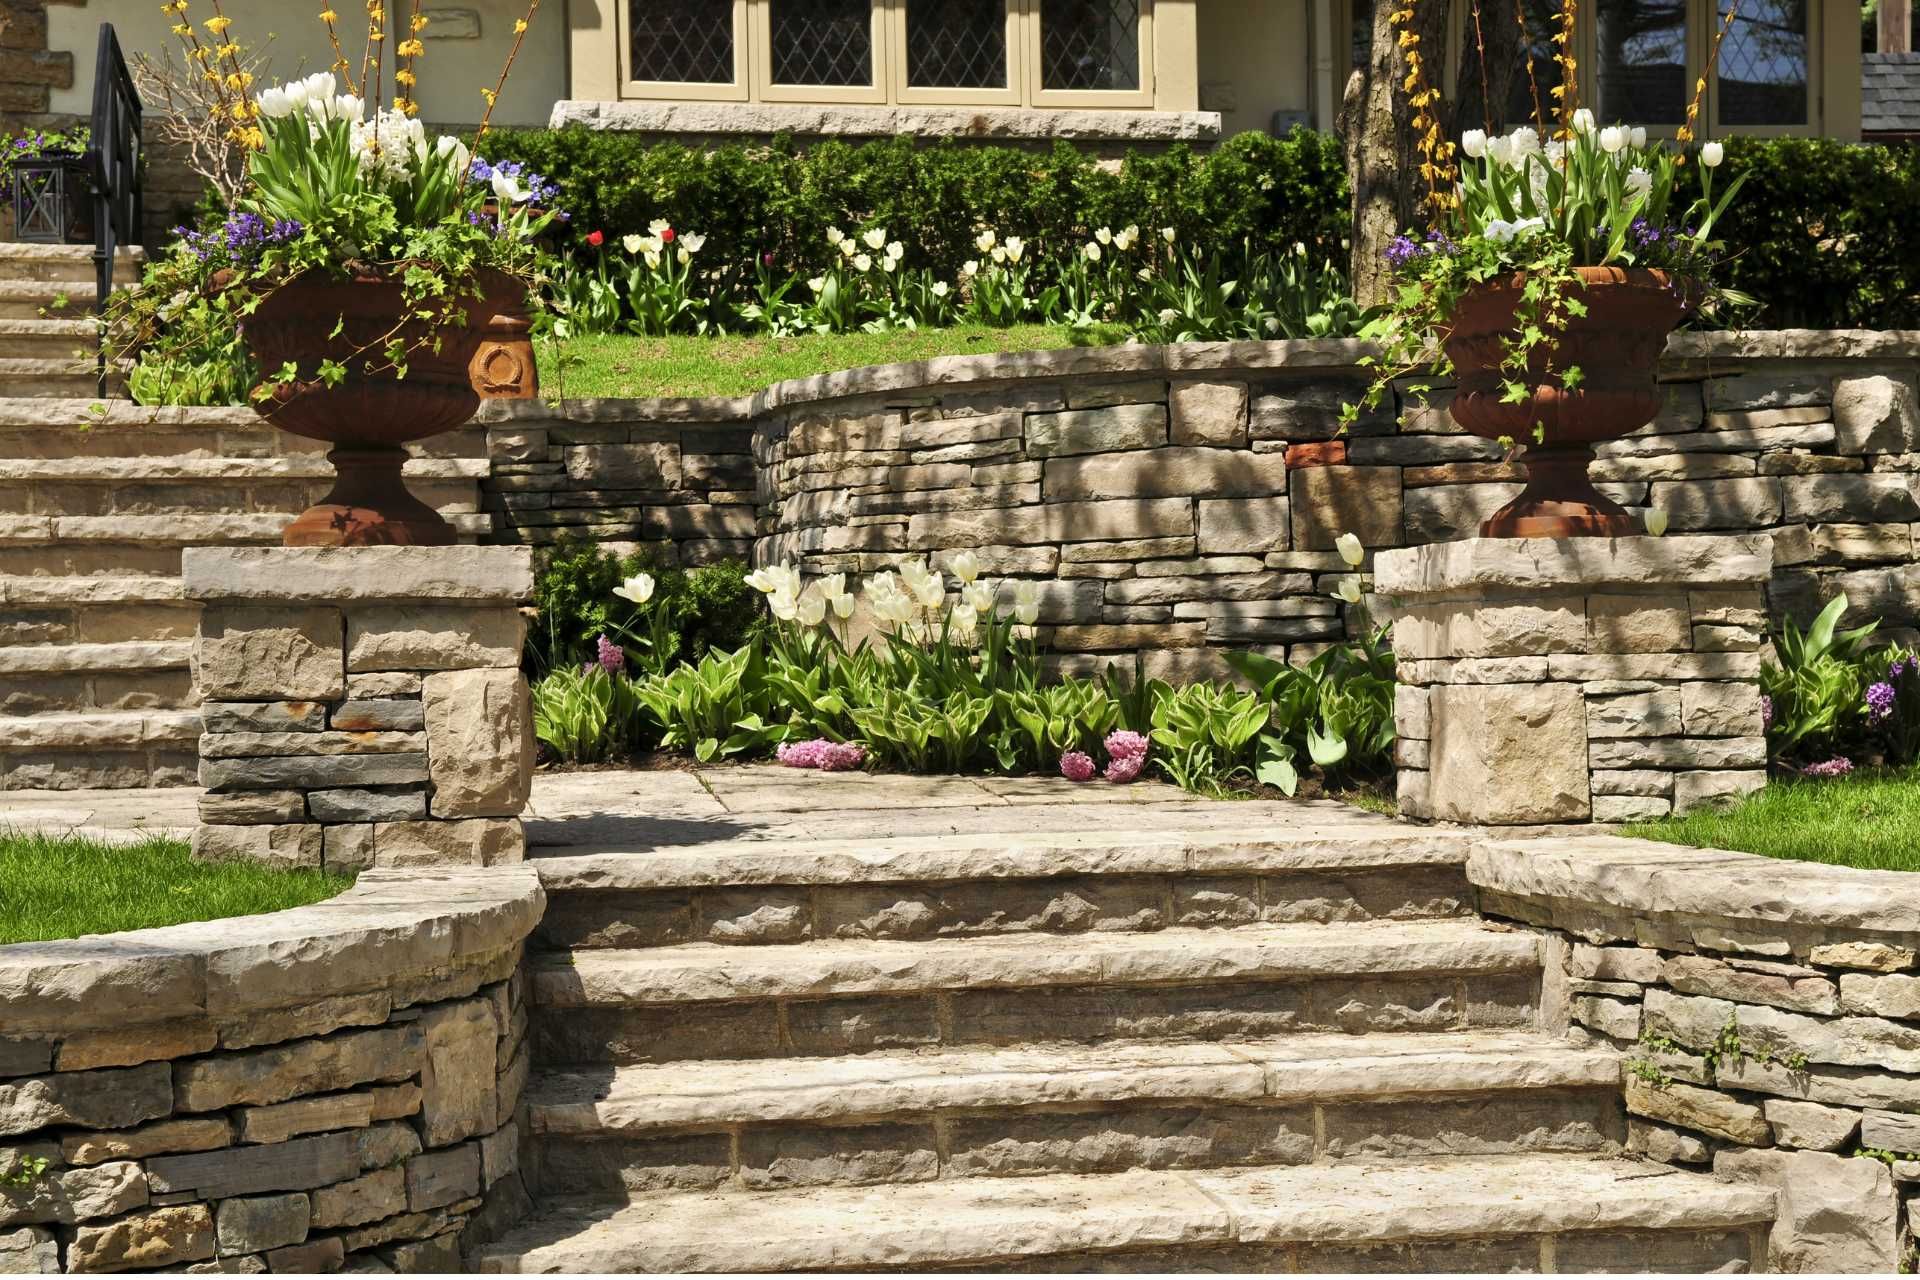
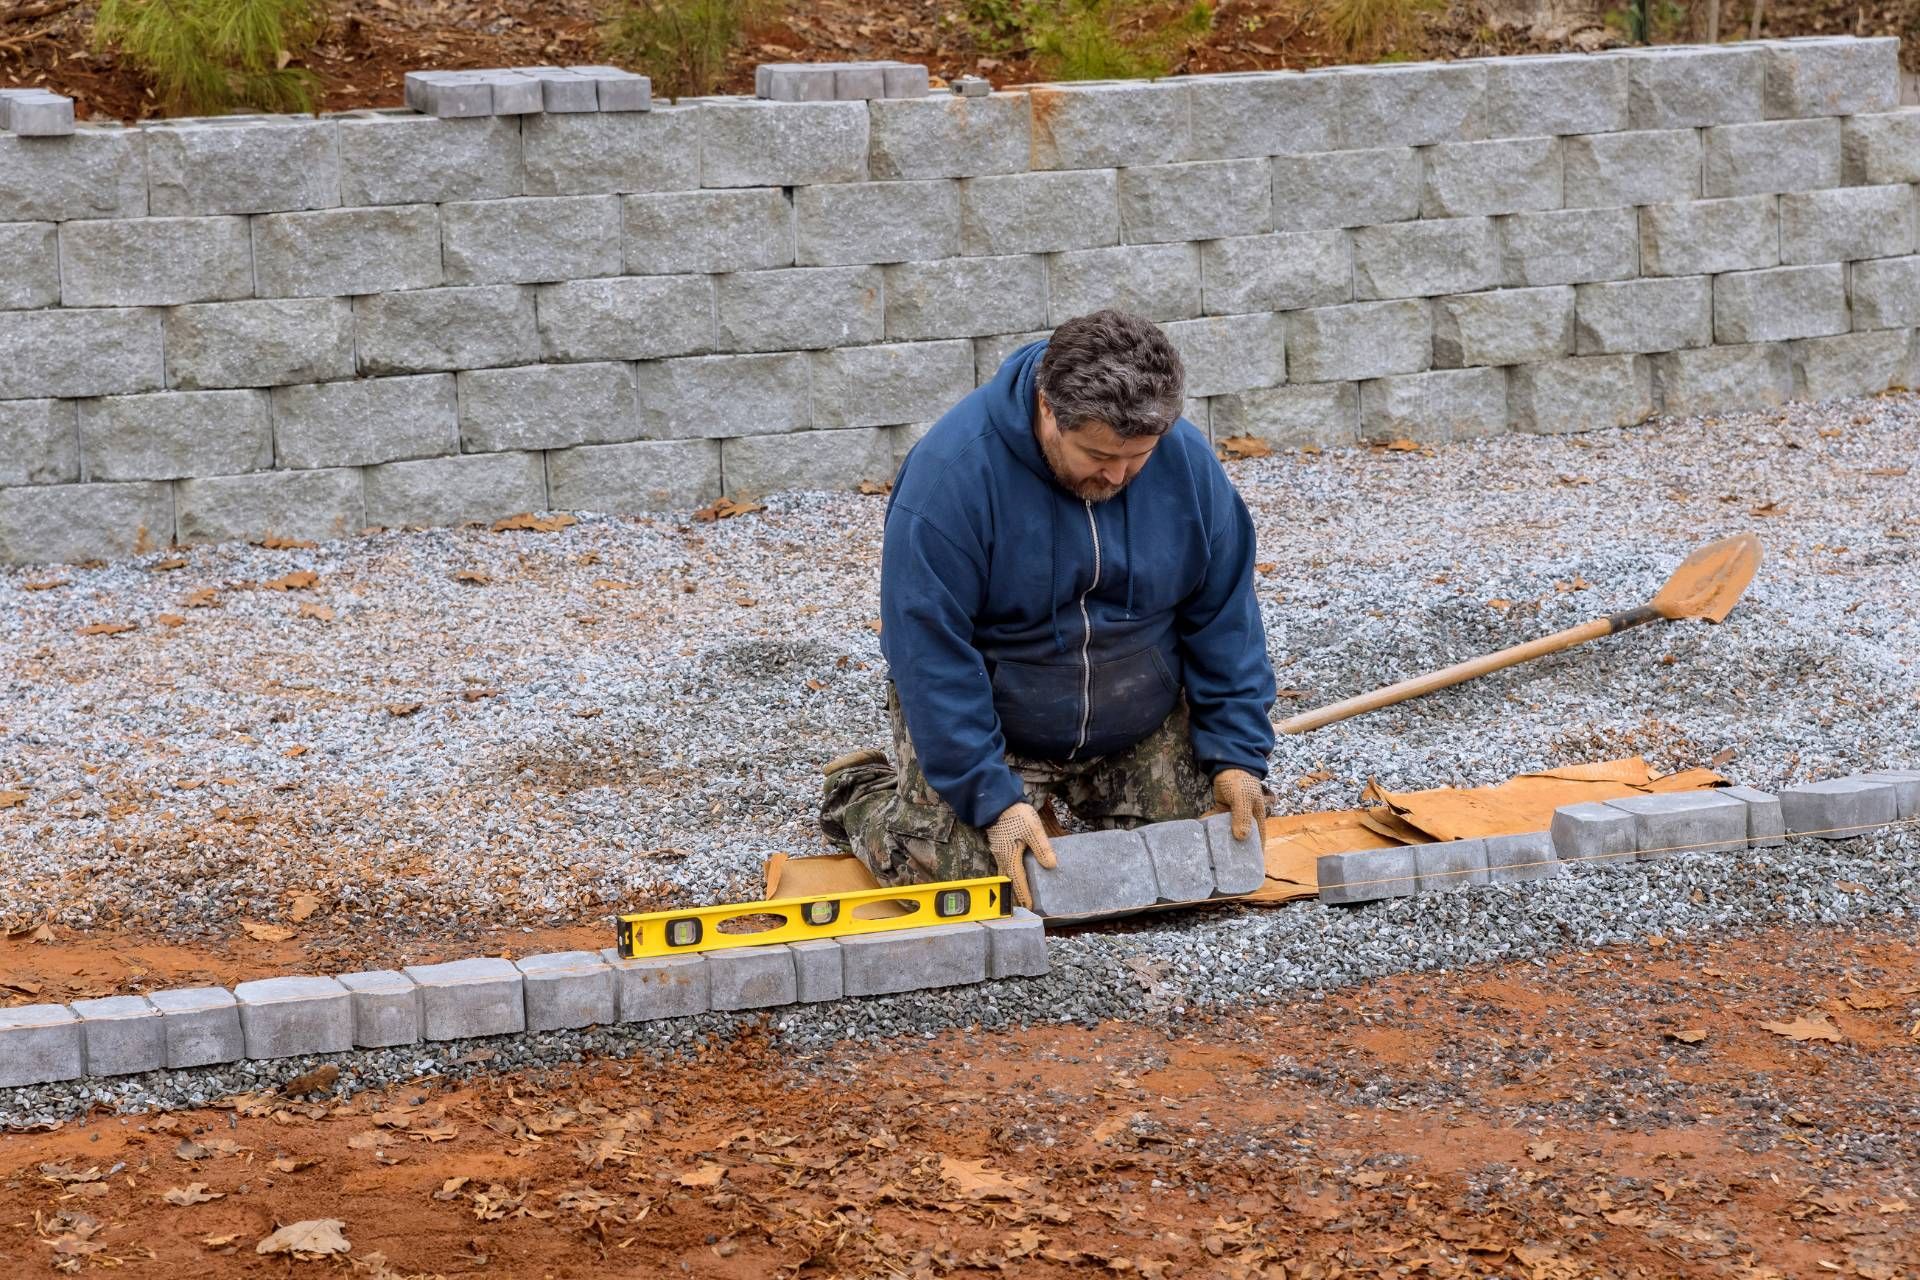
Install Edging
If you're planning to enhance your outdoor living space with a beautiful stone patio, one important step you should not overlook is installing edging before laying the stones. Edging not only adds a polished look to your patio but also helps to keep the stones in place and prevents them from shifting over time.
There are various options for edging materials, including concrete, brick, metal, and plastic. Each material has its own benefits and can complement the style of your patio. Concrete and brick edging provide a classic and durable look, while metal and plastic edging are more cost-effective and easier to install.
Before laying the stones, it's important to properly prepare the area where the patio will be located. This includes digging a trench around the perimeter of the patio and making sure it is level. The edging should be installed at the same height as the stones to create a seamless transition between the two.
Once the edging is in place, you can start laying the stones on top. Make sure to leave a small gap between each stone to allow for drainage and prevent them from shifting. You can use a rubber mallet to tap the stones into place and ensure they are level.
After the stones are laid, you can fill in the gaps between them with sand or gravel to create a smooth surface. Finally, add a layer of polymeric sand on top to lock the stones in place and prevent weed growth.
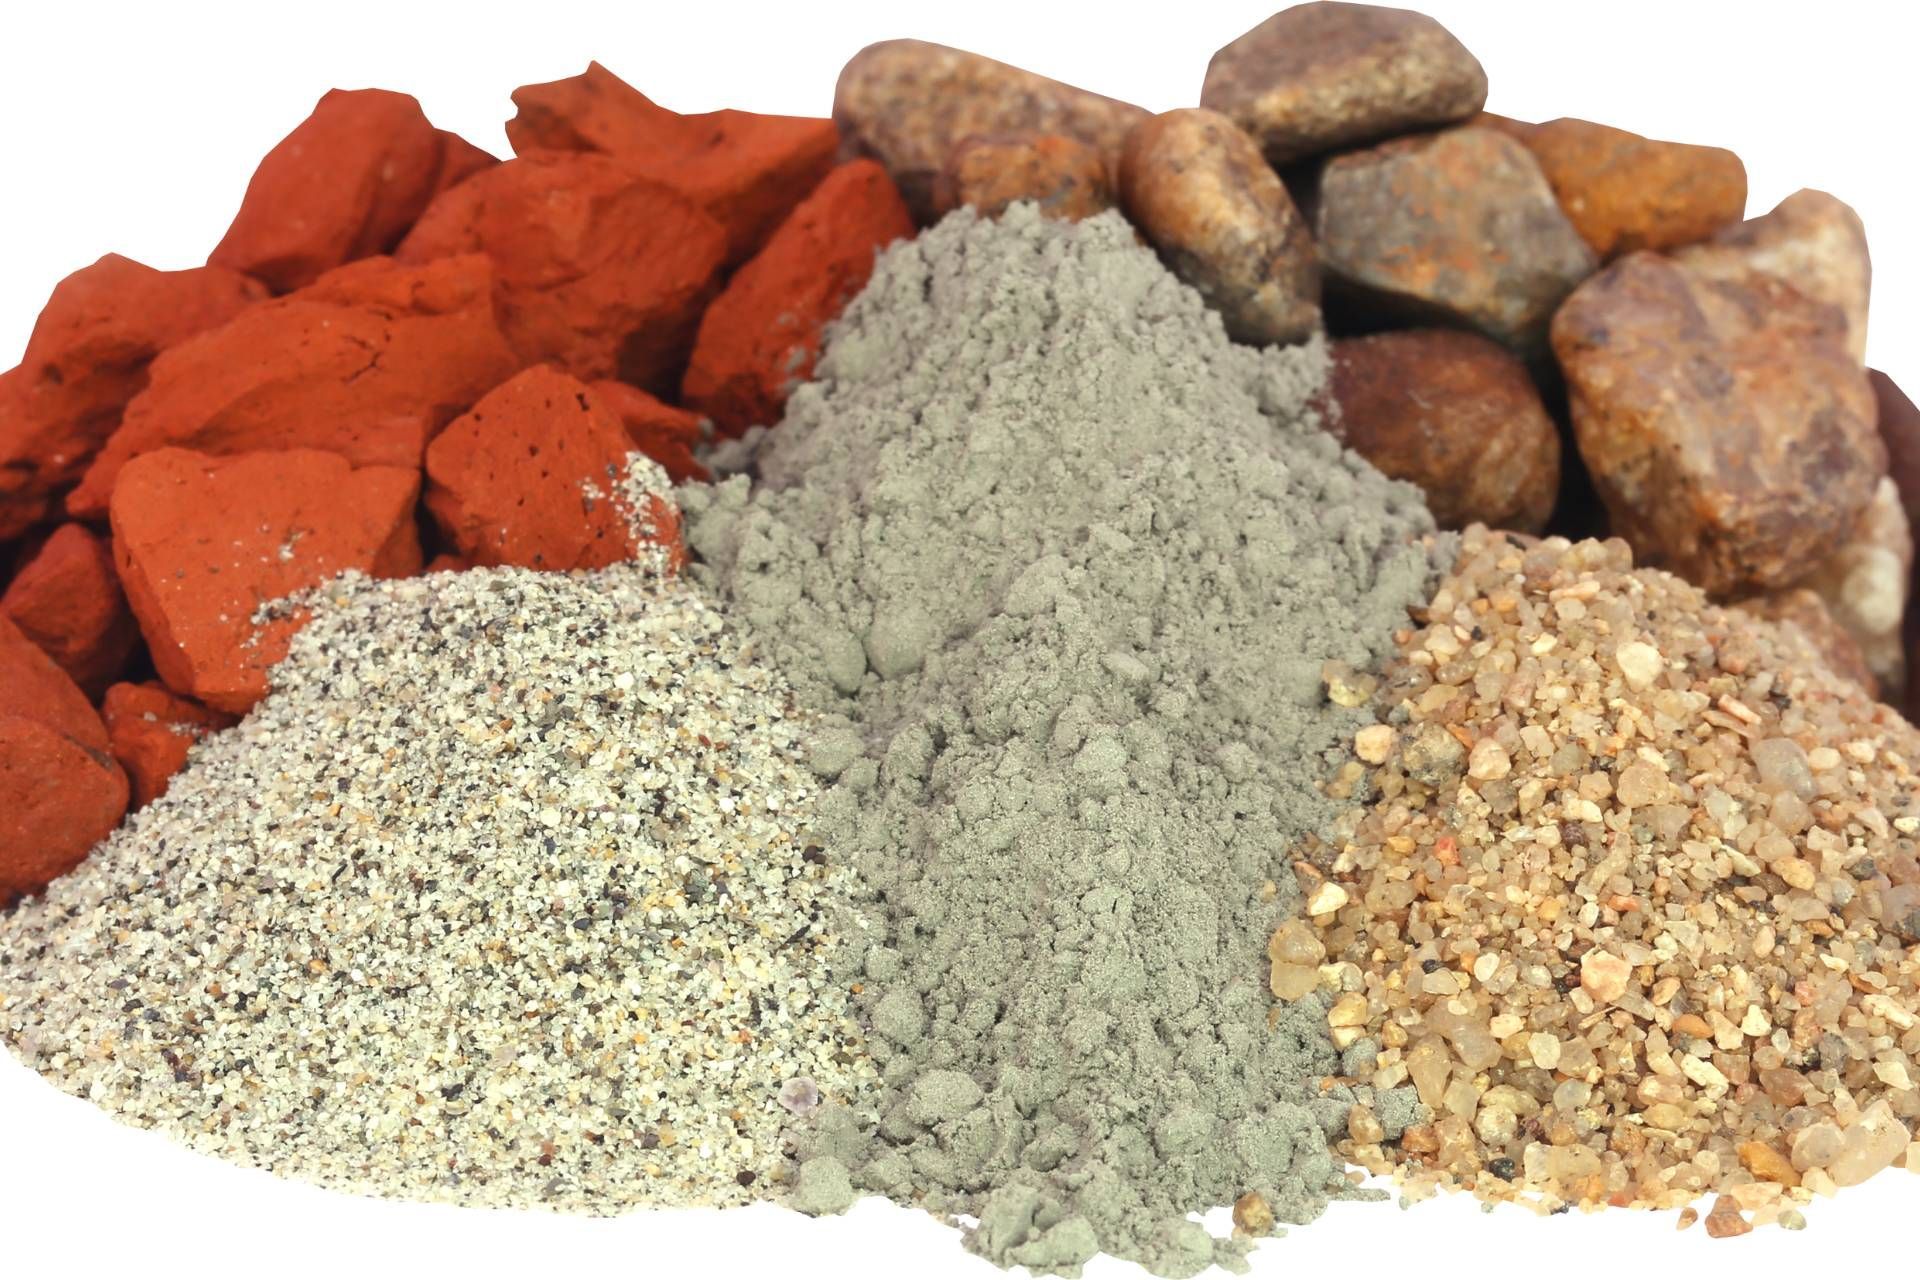
Add Base Material
Adding a base material before laying a stone patio is a crucial step in ensuring the longevity and stability of your outdoor space. Without a proper base, your patio is at risk of sinking, shifting, and ultimately failing over time.
The first thing to consider when planning a stone patio is the type of base material you will use. There are several options available, including gravel, crushed rock, and sand. Each material has its own benefits and drawbacks, so it's important to choose the one that best suits your needs and budget. Regardless of the type of material you choose, the goal is the same: to create a solid, level foundation for your patio stones to rest on.
One of the main reasons to add a base material before laying a stone patio is to prevent settling and shifting. When soil is compacted and a sturdy base material is added, it creates a stable surface for the stones to sit on. This helps to prevent the patio from sinking or heaving over time, which can lead to uneven surfaces and potential tripping hazards. A proper base material allows for proper water drainage, helping to prevent pooling and erosion.
To add a base material before laying a stone patio, follow these steps:
1. Excavate the area: Begin by marking out the area where your patio will be and remove any existing vegetation or debris. Use a shovel or excavator to dig down to the desired depth, typically around 6-8 inches.
2. Compact the soil: Once the area is excavated, use a compactor or tamper to compact the soil. This will help create a solid foundation for your base material.
3. Add the base material: Spread a layer of your chosen base material over the compacted soil. The depth of the base material will depend on the type of material you are using and the size of your patio stones. Typically, a layer of 2-4 inches is sufficient.
4. Compact the base material: Use a compactor or tamper to compact the base material. This will help create a flat, stable surface for your patio stones to sit on.
5. Lay the patio stones: Once the base material is in place and compacted, you can begin laying your patio stones. Make sure to lay them in a pattern that is pleasing to the eye and leave a small gap between each stone for drainage.
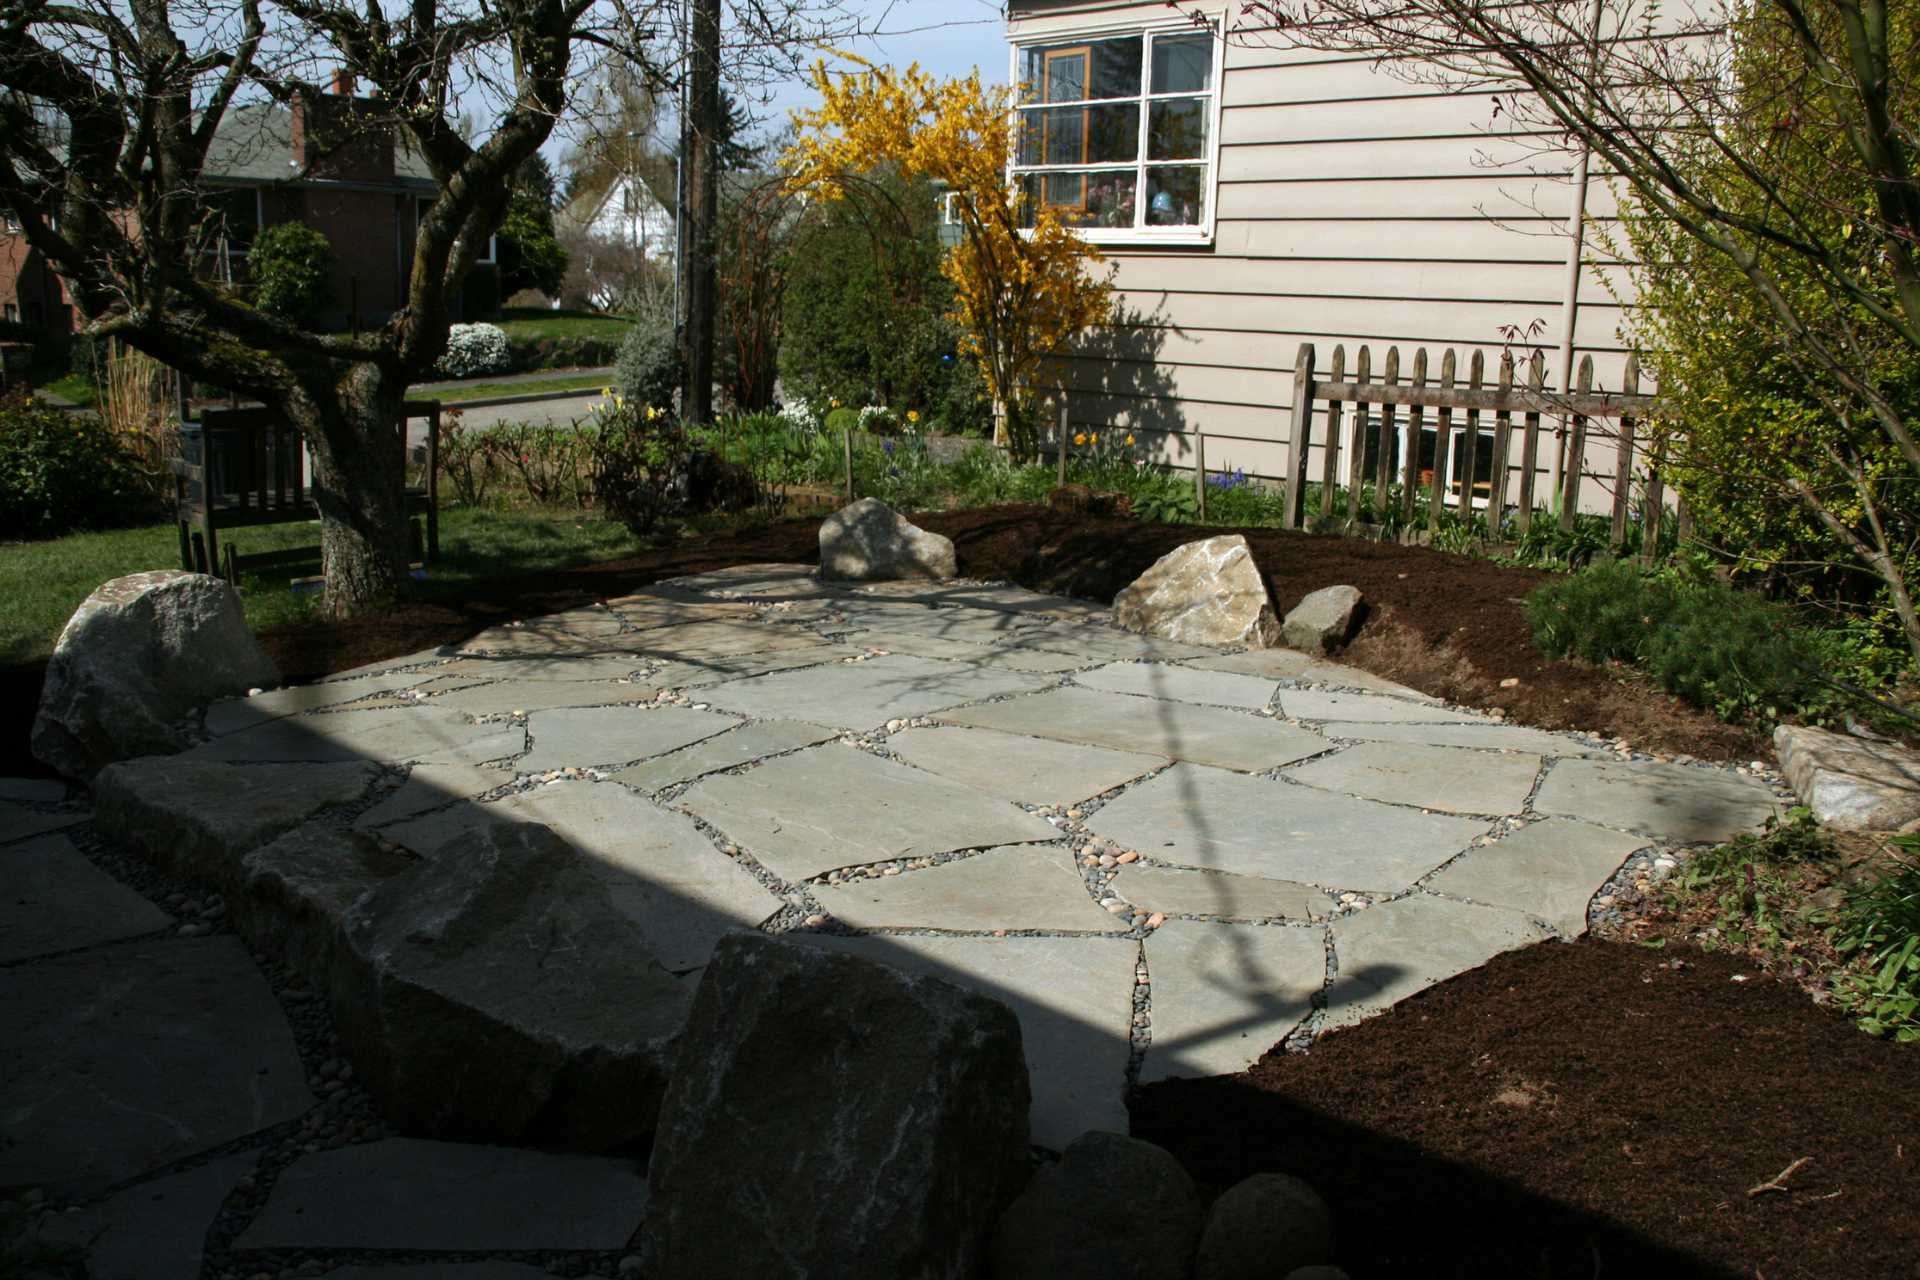
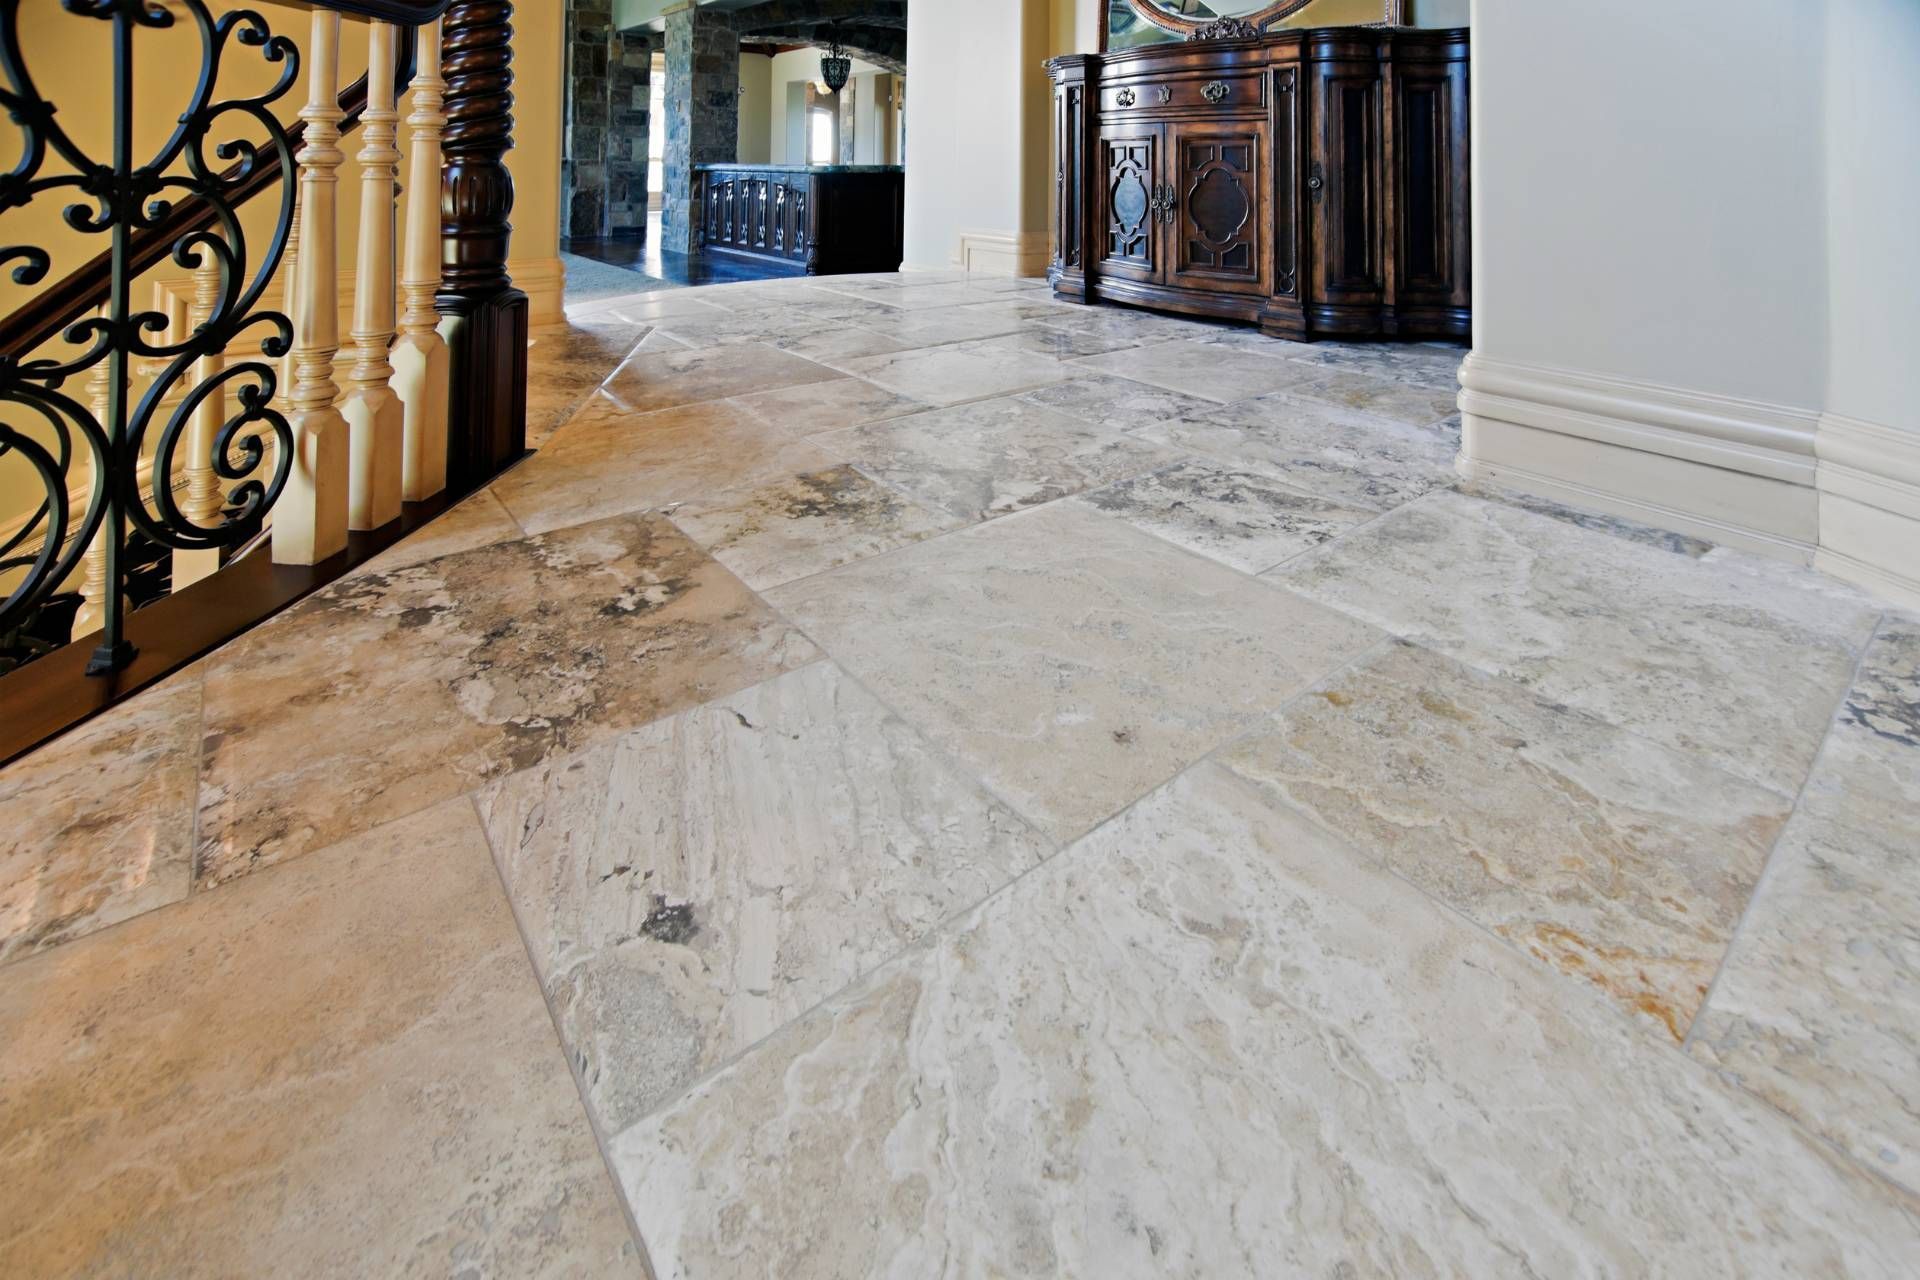
Installing the Stone Patio
After leveling the ground for your stone patio, the next step is to start installing the stones. Begin by choosing materials that suit your desired aesthetic and climate. Consider factors such as durability, color, and size when selecting the stones for your patio. Once you have your materials ready, place the stones on the prepared ground in the pattern you desire.
As you lay the stones, ensure they're level by using a level tool. This is crucial for creating a stable and visually appealing patio surface. Adjust the stones as needed to maintain a flat surface throughout. Take your time during this step to guarantee a professional finish.
Continue placing the stones until the entire patio area is covered. As you progress, step back occasionally to evaluate the overall look and make any necessary adjustments. Once all the stones are in place and leveled, your stone patio will be ready for you to enjoy for years to come.
Fill in the Gaps
A stone patio can add beauty and functionality to your outdoor living space. But after you lay the stones, you may notice gaps between them that need filling. This step is crucial not only for aesthetic purposes but also to prevent weed growth and keep your patio looking neat and clean.
There are several options for filling in the gaps between stones on a patio. One common approach is to use a sand or gravel mix. This mixture is poured into the gaps and then brushed or hosed down to settle the material in place. This method is popular because it allows for drainage and flexibility as the patio settles and shifts over time.
Another option is to use polymeric sand, which is a special type of sand that hardens once it comes into contact with water. This can provide a more stable and durable fill for your patio gaps, resisting erosion and weed growth. However, it is important to follow the manufacturer's instructions carefully to ensure proper application and performance.
If you prefer a more natural look, you can also choose to fill the gaps with moss or ground cover plants. This can create a lush and green appearance, blending seamlessly with the surrounding landscape. Just be mindful that these plants may require some maintenance to prevent them from overtaking the patio or becoming unsightly.
Seal the Patio
Once you have laid your stone patio, the next step is to seal it to protect it from the elements and keep it looking great for years to come.
Sealing your stone patio is an important step in the maintenance process. It helps to protect the stones from damage caused by water, UV rays, and other outdoor elements. Sealing also helps to enhance the natural colors of the stone and prevent stains and discoloration.
There are several different types of sealers available for stone patios, including penetrating sealers, topical sealers, and enhancing sealers. The type of sealer you choose will depend on the type of stone you have used for your patio and the look you want to achieve. It is important to follow the manufacturer's instructions when applying the sealer to ensure it is done correctly.
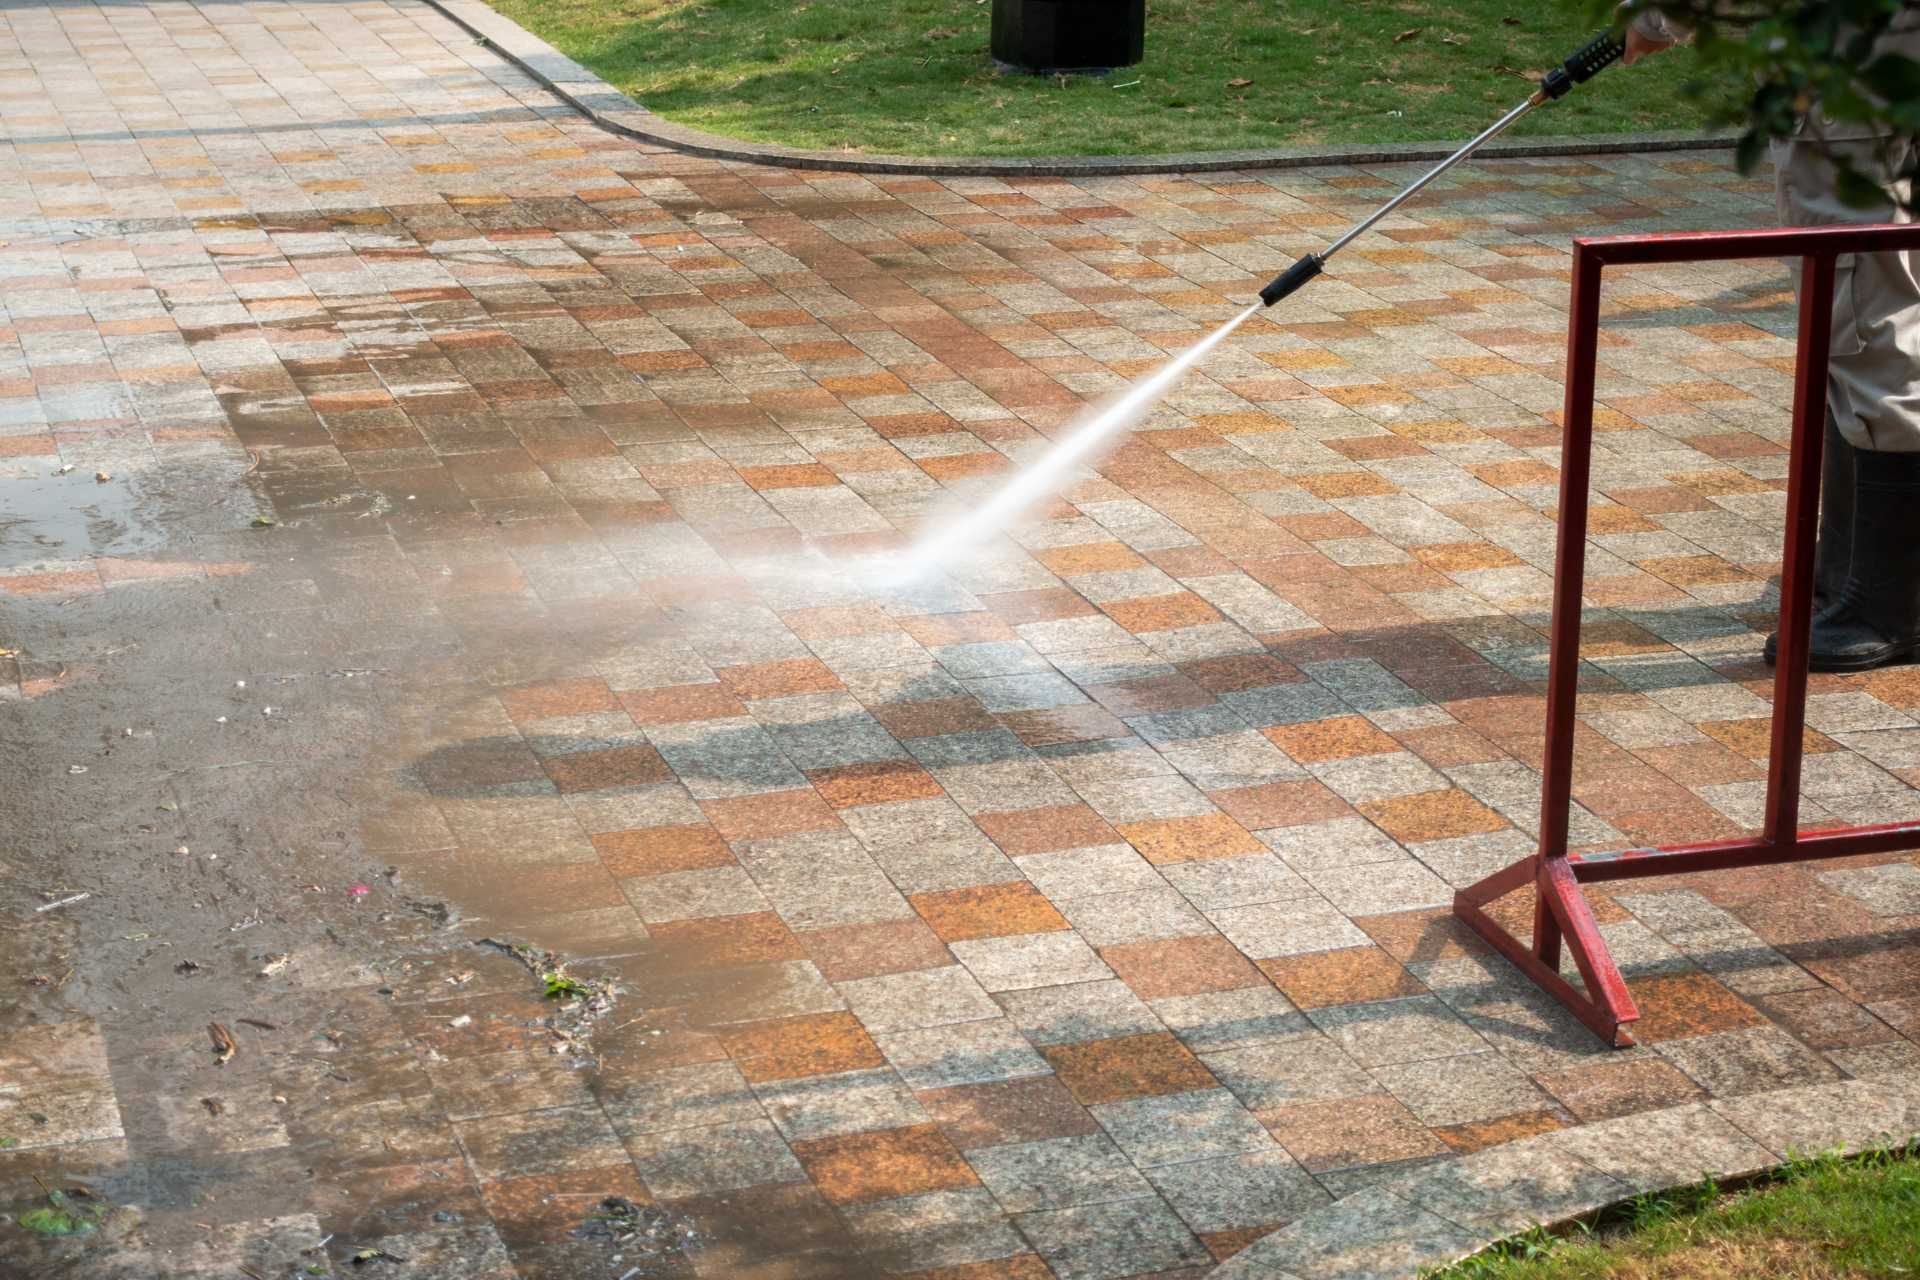
Before sealing your patio, it is important to make sure the stones are clean and dry. Sweep away any debris and dirt, and use a pressure washer to remove any stubborn stains or residue. Allow the patio to dry completely before applying the sealer.
Once the patio is clean and dry, you can begin applying the sealer. Use a brush or roller to apply the sealer evenly over the entire surface of the patio. Allow the sealer to dry completely before walking on or using the patio.
Conclusion
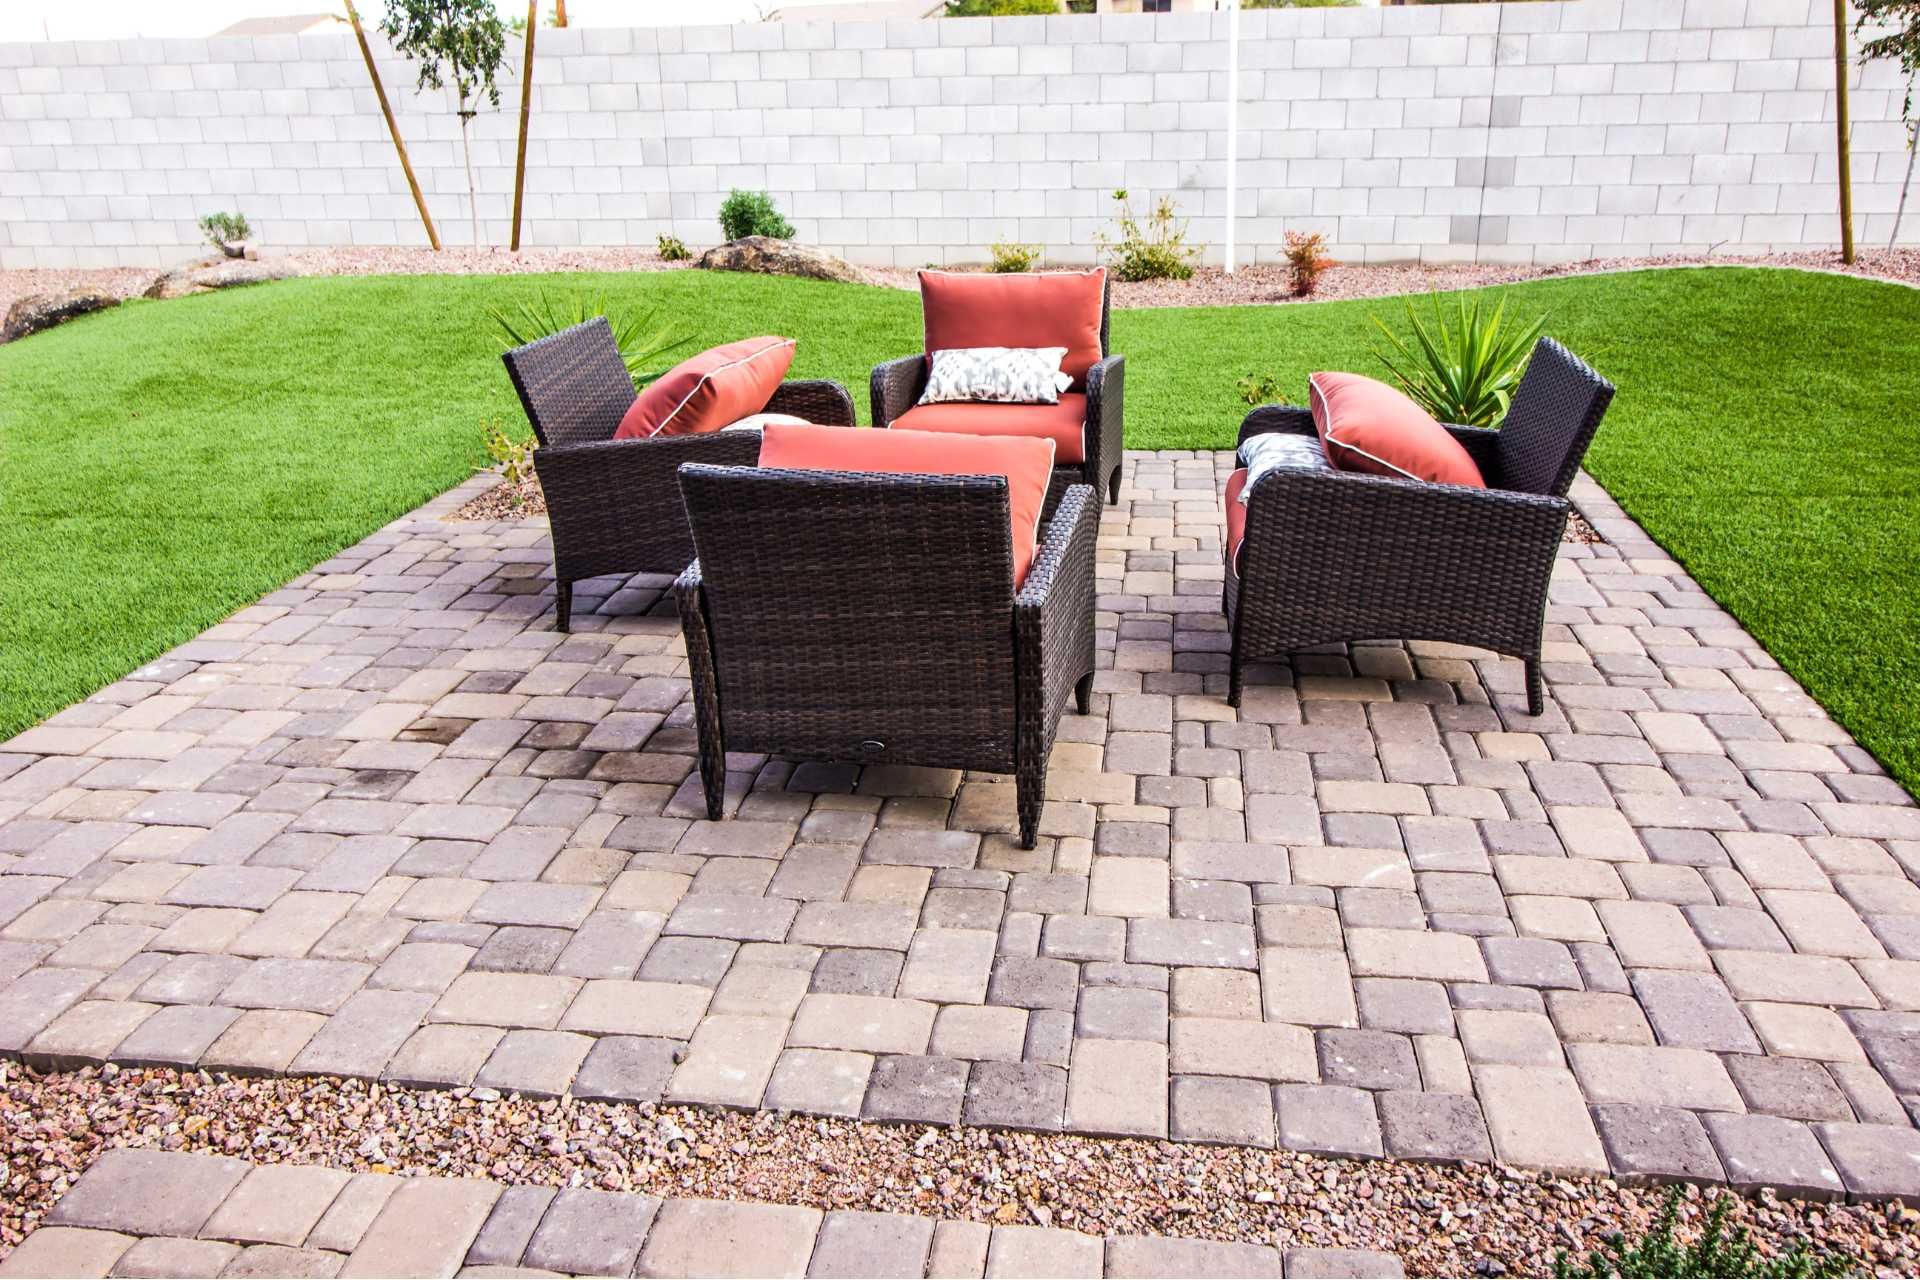
Now that you've completed all the hard work of planning, preparing, and installing your stone patio, it's time to sit back and enjoy your new outdoor space.
Whether you're hosting a BBQ, relaxing with a book, or simply soaking up the sun, your stone patio will provide the perfect setting for all your outdoor activities.
Cheers to a job well done and many happy memories to come on your beautiful new stone patio!